Notice: Function _load_textdomain_just_in_time was called incorrectly. Translation loading for the woocommerce-gateway-paypal-express-checkout domain was triggered too early. This is usually an indicator for some code in the plugin or theme running too early. Translations should be loaded at the init action or later. Please see Debugging in WordPress for more information. (This message was added in version 6.7.0.) in /home/itsmegan/public_html/megantaylor.london/wp-includes/functions.php on line 6121
how to Archives - Megan Taylor

RAINBOW HAIR SLIDE | HOW TO

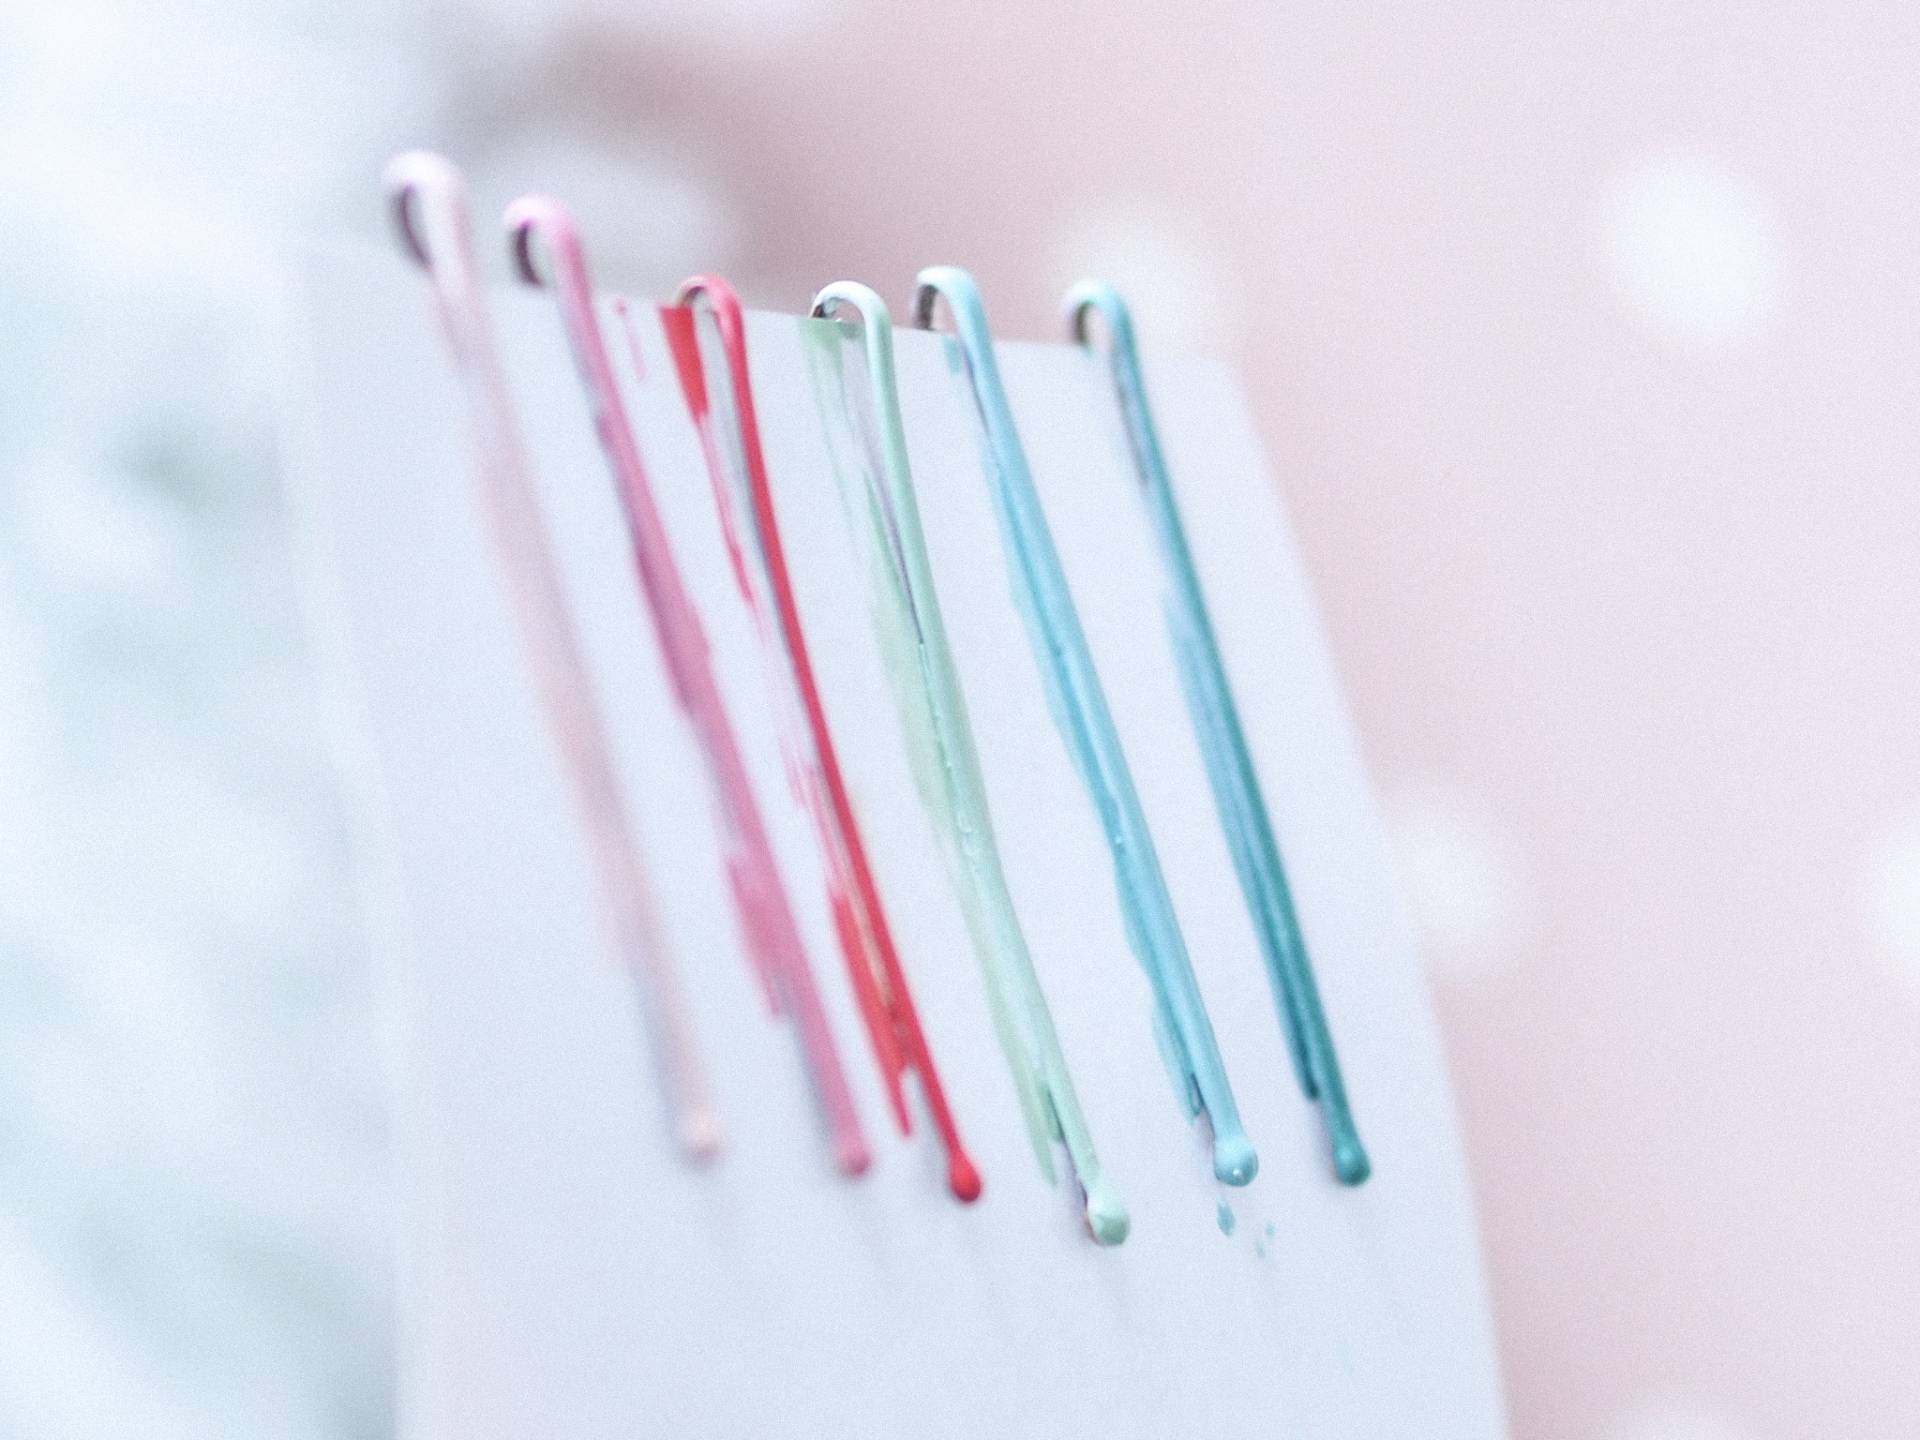
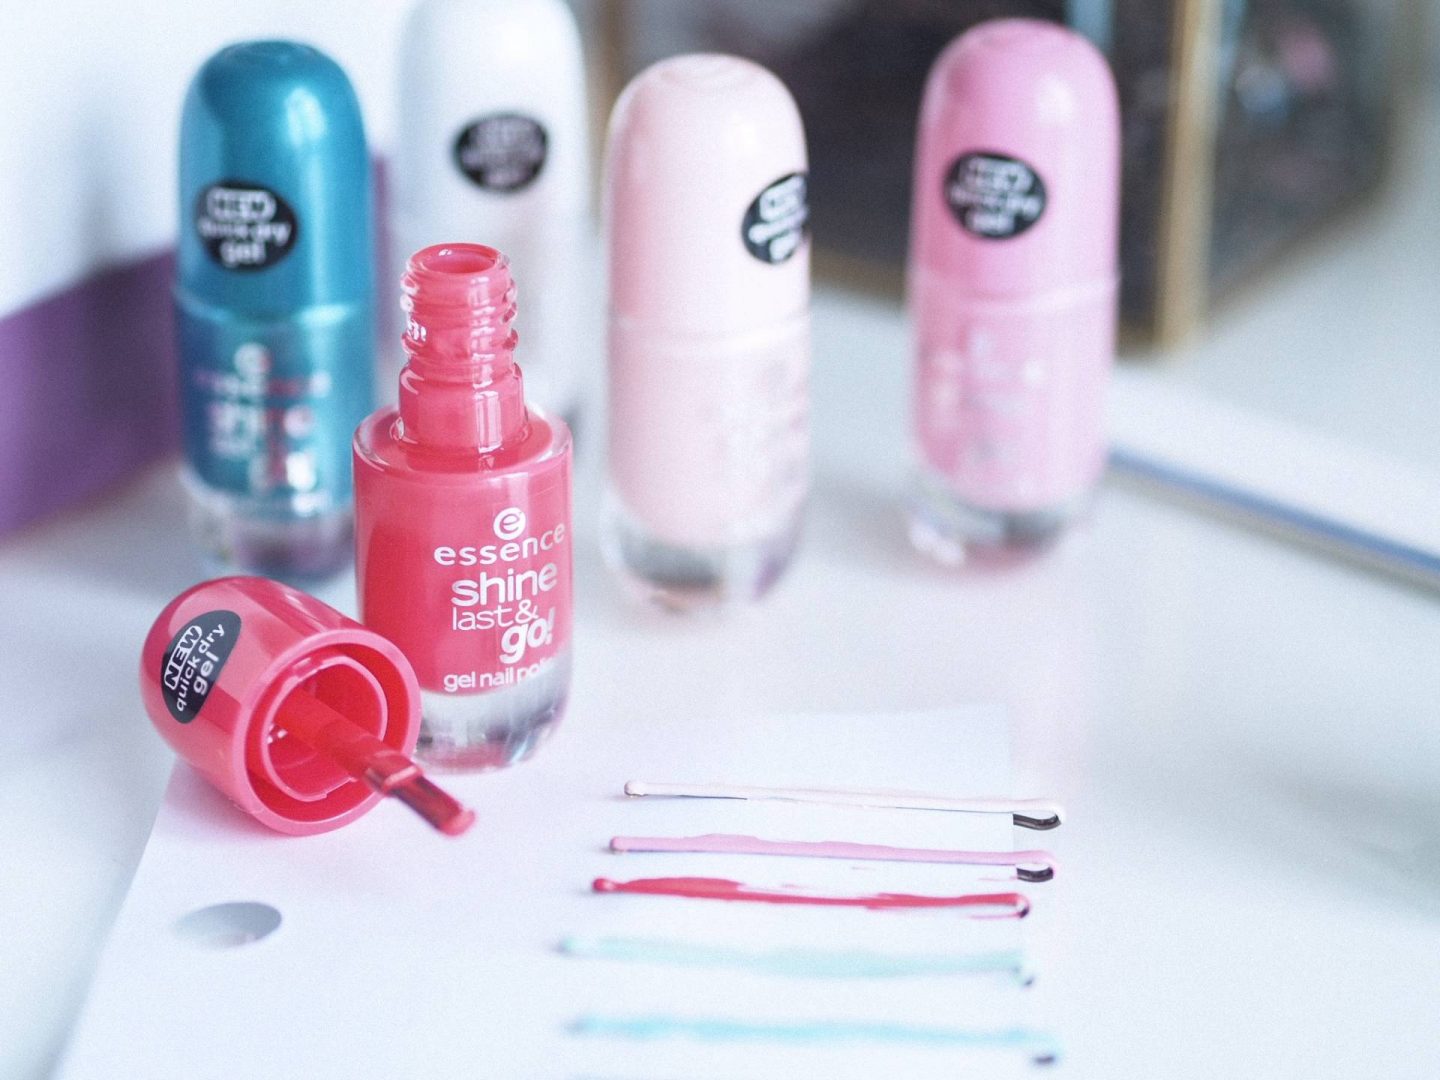
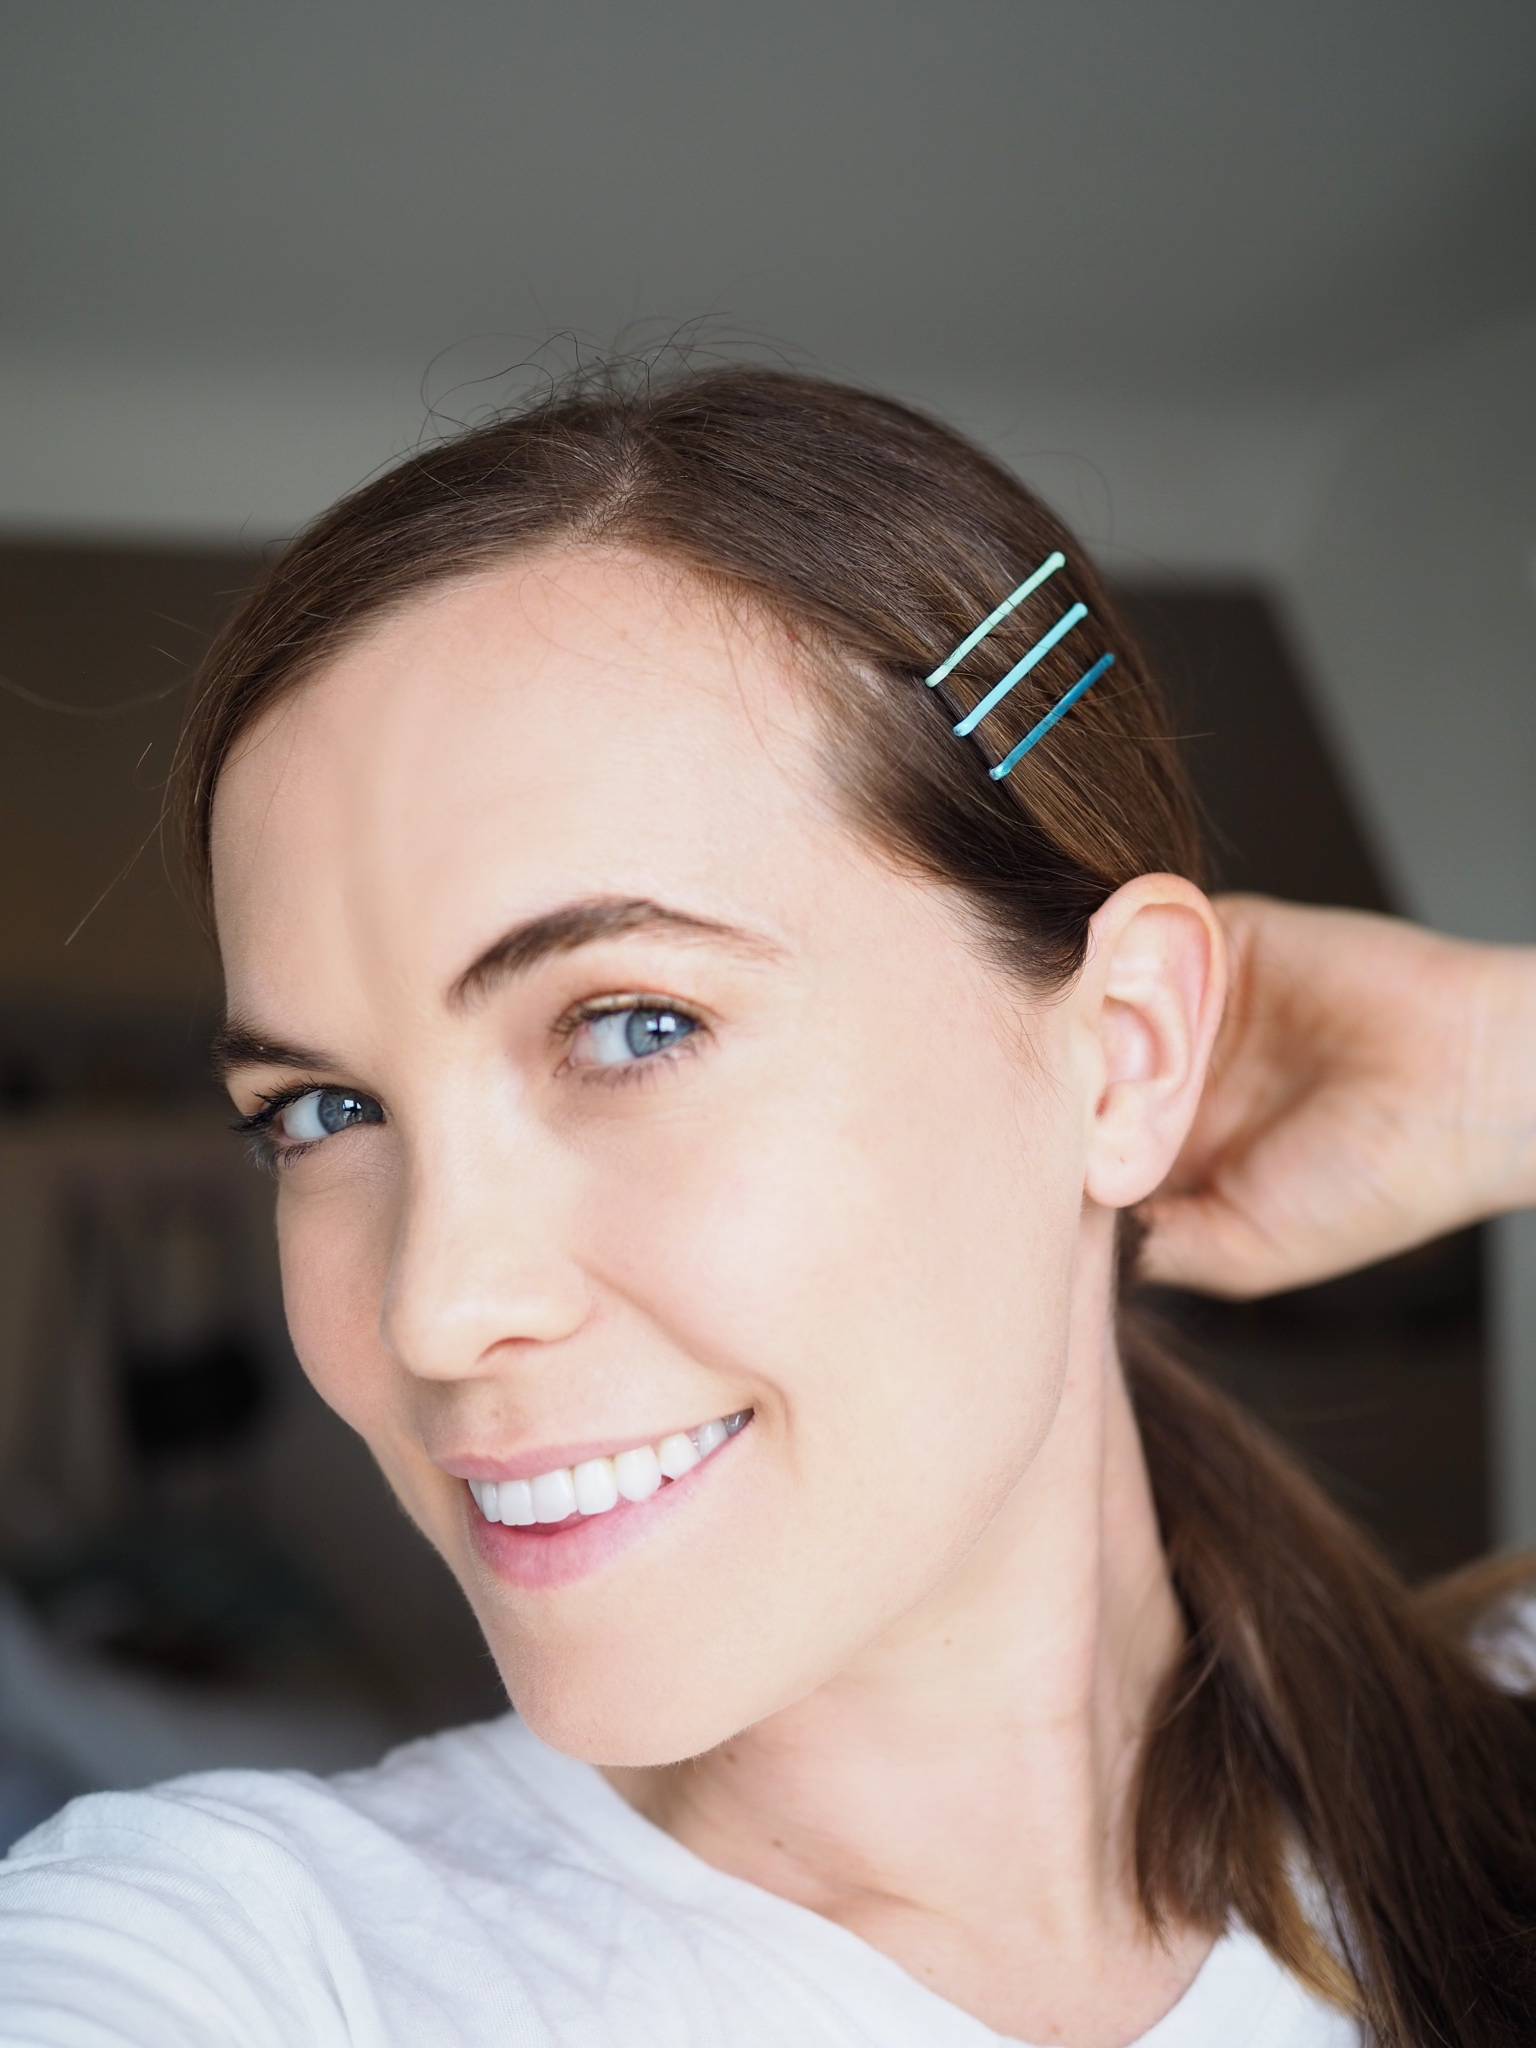
Hair slides and hair grips are HOT right now. I have worked out a way to make the most gorgeous rainbow coloured hair slides. I was sent a rather large box of Essence nail varnishes the other day and they are so beautiful. I am the biggest nail varnish hoarder you will find. I had a nail varnish clear out last week and then 50 new gorgeous non-claggy ones have arrived. Out with the old, in with the new, right! Anyway, this box of nail varnishes inspired me to make these hair slides. (F.Y.I. I was never asked to feature these nail varnishes in any posts. These polishes are only £1.60 so are great to use for this project. Here is a link to the nail varnishes in their old form, these ones I will be out later this month in Wilkinsons. You can obviously use any nail varnishes you already own. Here is a link to all my past nail varnish blog posts filled with loads of gorgeous nail varnishes and tips). I chose an array of colours that create a pretty ombre effect.

WHAT YOU NEED

• White (or very pale) nail varnish.
• Nail varnishes in a variety of colours.
• Hair slides.
• Piece of scrap paper.

HOW TO

• Slide your hair grips on to a piece of paper so you can paint freely.
• Swipe a coat of white nail varnish over your hair slides.
This will act as your undercoat and mean that with a light nail varnish colour you won’t have to use loads of coats and allow them to get dented and peel away.
• Allow to dry.
I am quite impatient and just painted all six grips I was painting and moved back to number one with the coloured polish.
• Paint one thick coat on your hair slides.
• Leave to dry and ta da you are ready to look as cute as a button.

RAINBOW HAIR SLIDE | HOW TO | MEGAN TAYLOR

Let me know if you make these? I would love to see how you style them. Tag me on social @itsmegantaylor xx

Copper Make Up Dreams

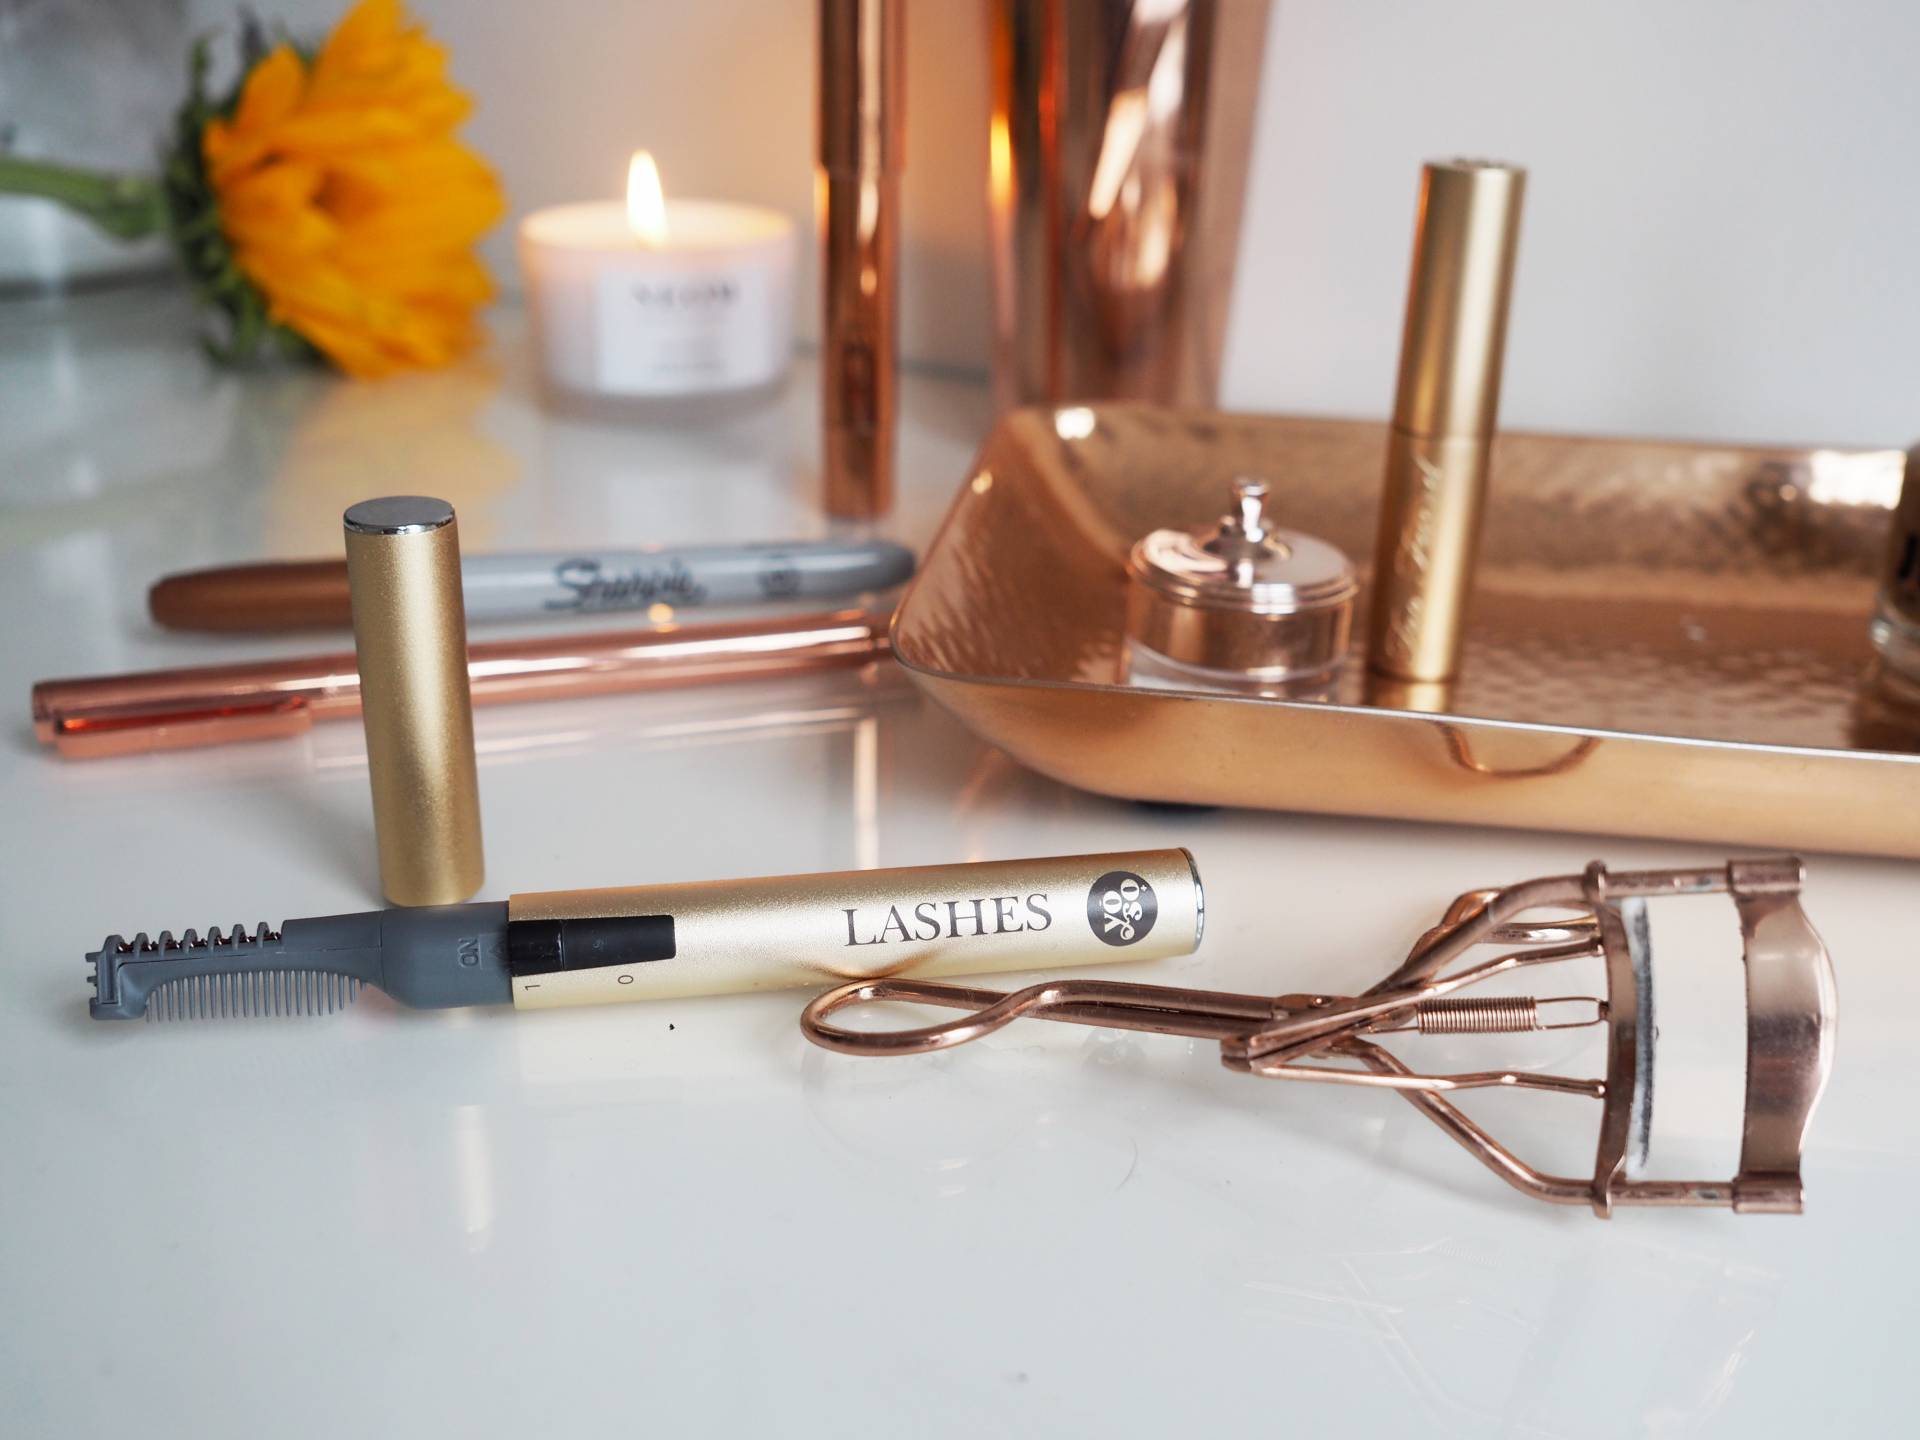
As I sat down to do my make up this morning I realised my copper addiction is on overdrive. Everything surrounding me is copper. Although this is a bit crazy, it makes me incredibly happy and I wanted to share the beauty with you and show you how you too could have copper make up dreams.

Copper Make Up Dreams | Megan Taylor

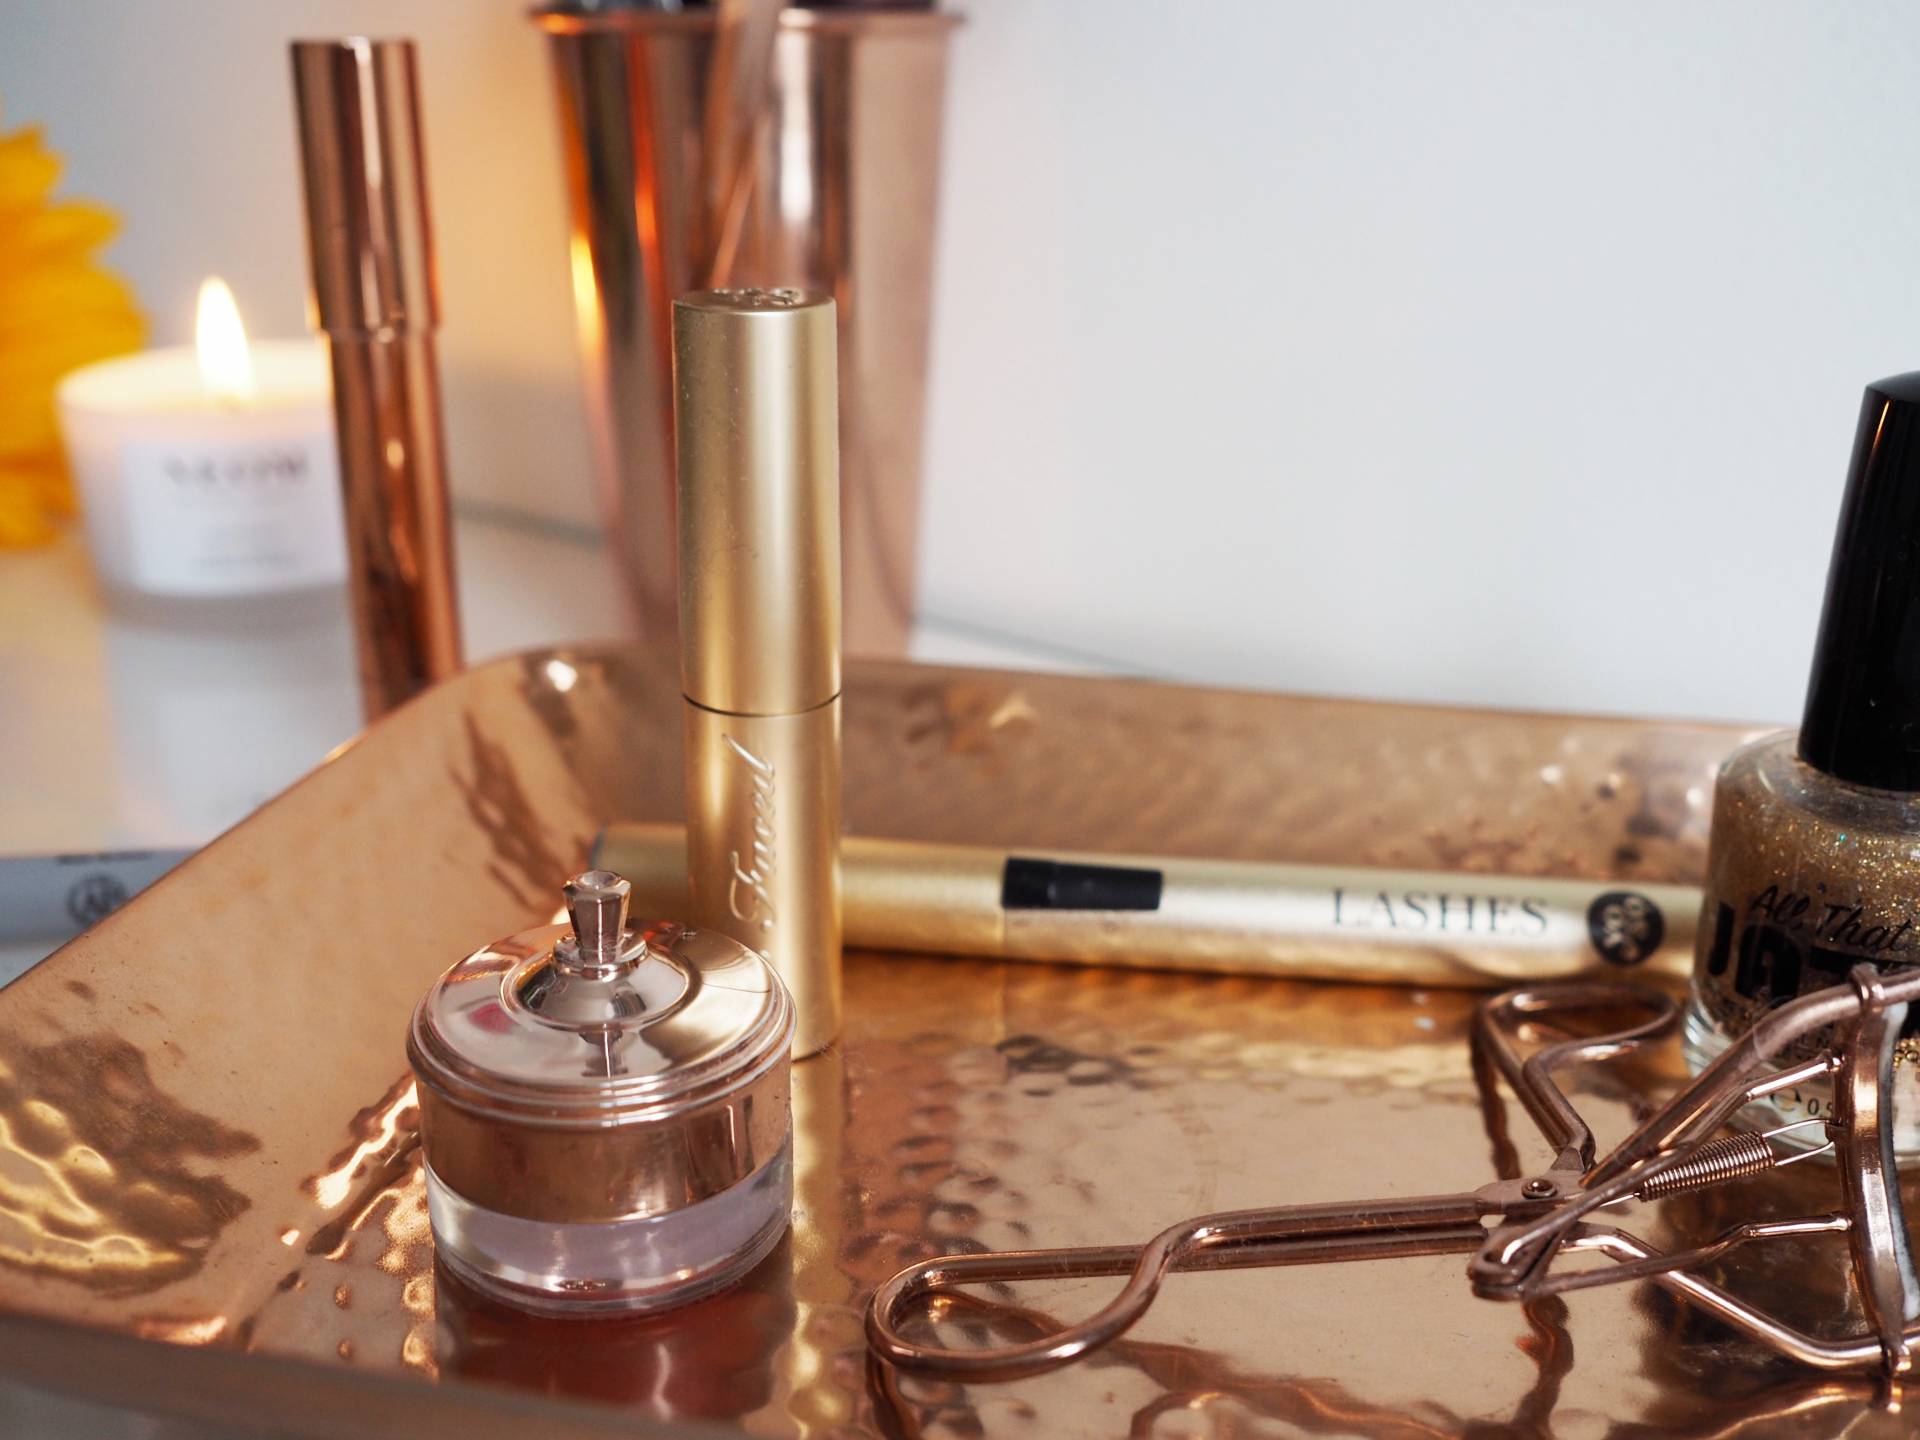
Copper Tray

COPPER TRAY

I started with this copper tray from Oliver Bonas to place any spare bits and bobs that don’t fit in my standard beauty blogger Muji acrylic perspex drawers (does everyone have these?). I adore this tray because I can keep a few of my quick go-to beauty products that I always use or are a funky shape.

Copper Make Up Dreams | Megan Taylor

Copper Tweezers
Copper Tumbler

TWEEZING IN COPPER

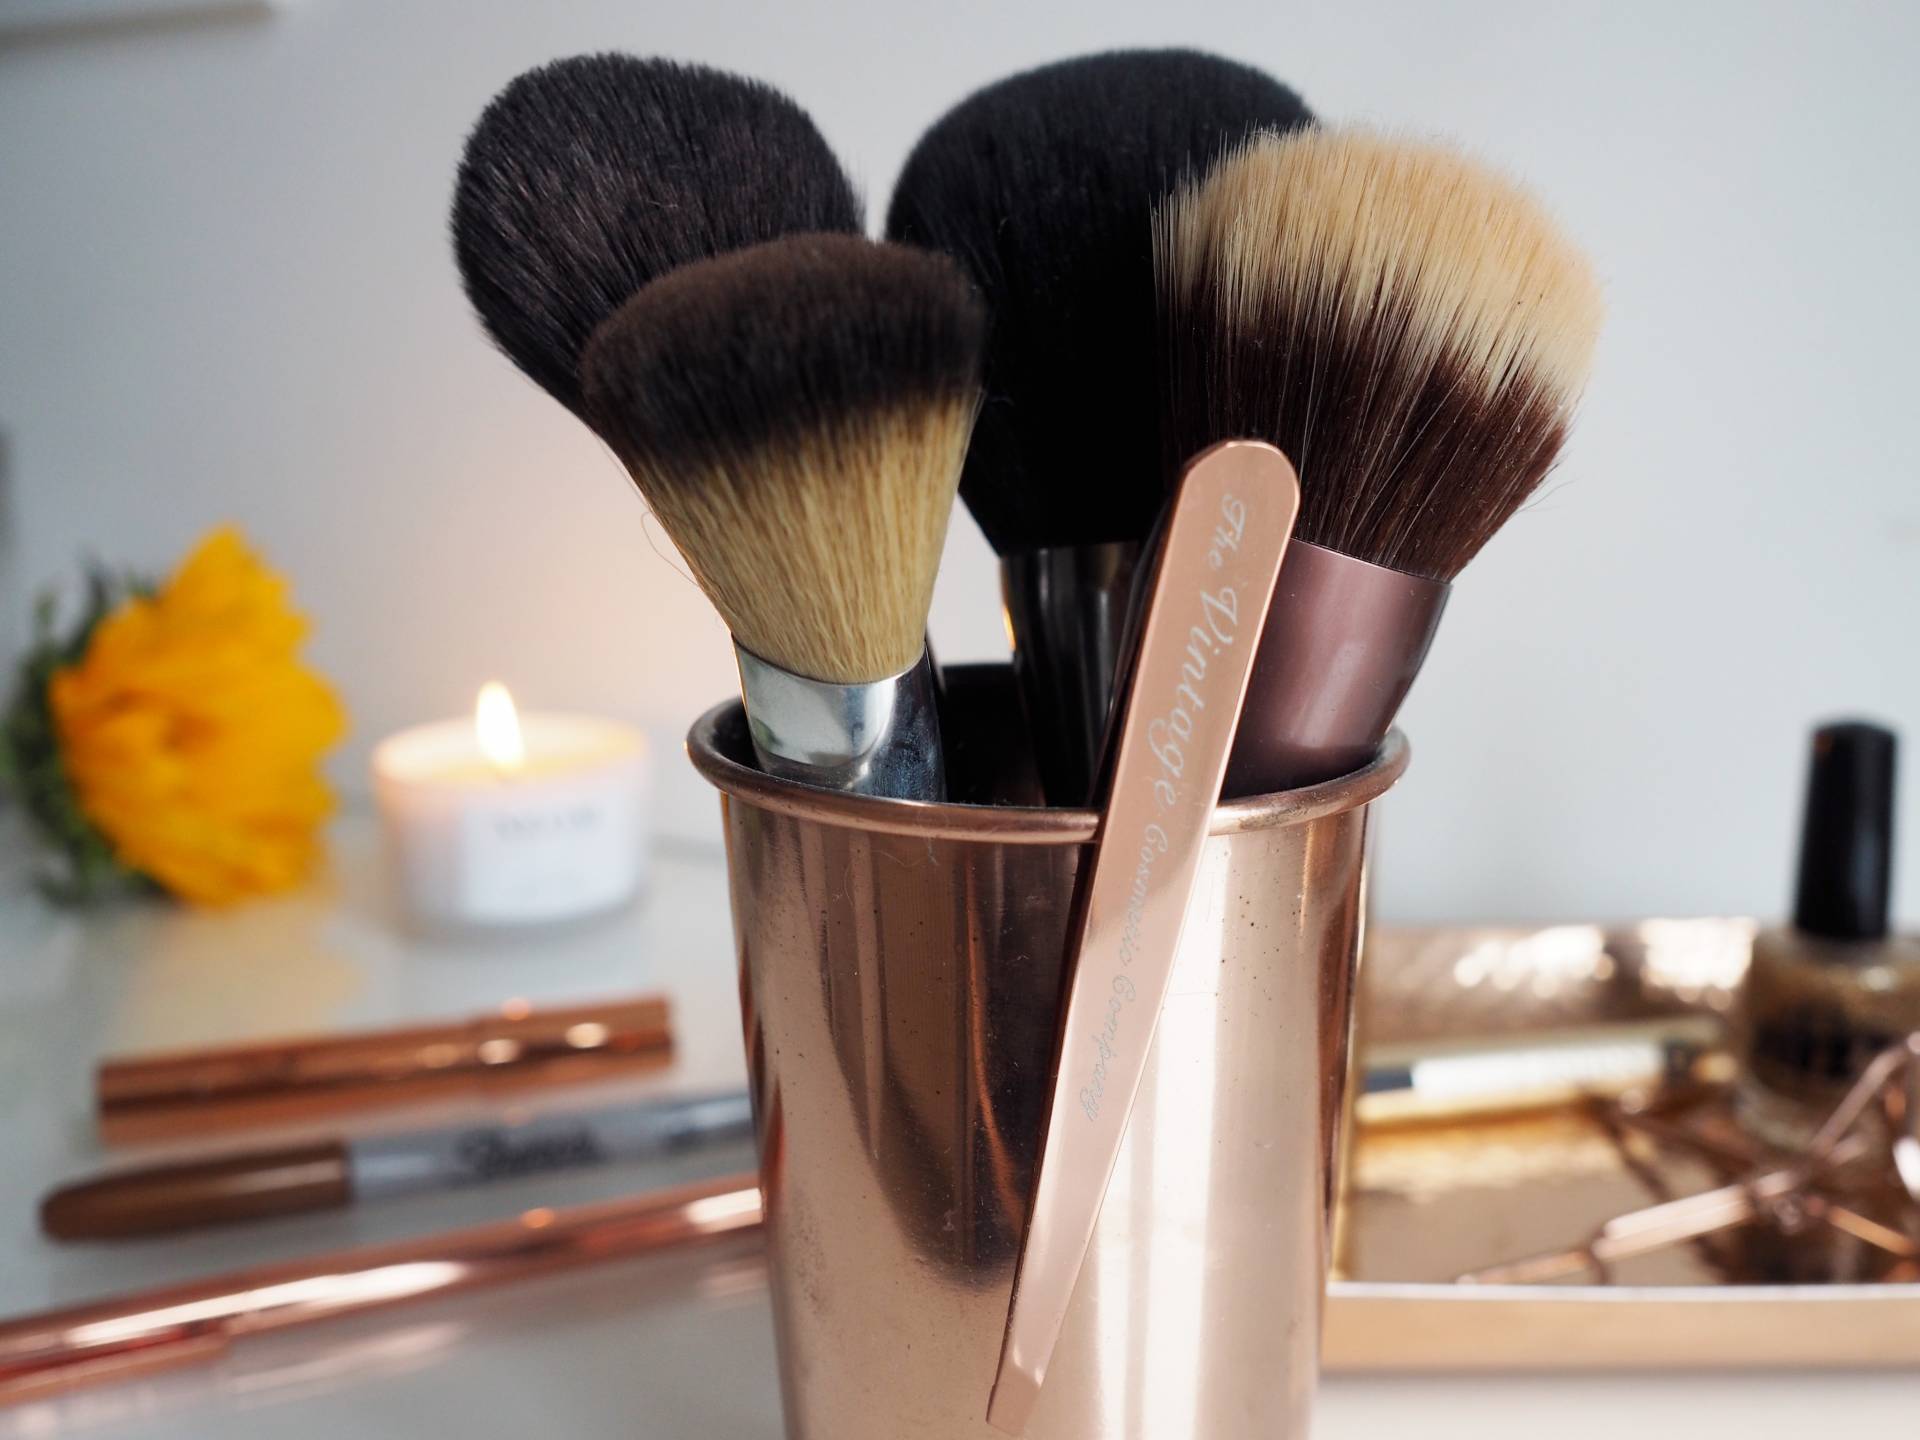
I was given this copper tumbler in my stocking a few years back and at first used it for a cocktail glass. I soon decided that it spent more time in the glass cupboard and it was far too pretty to be hidden. I have a few too many make up brushes and not enough drawers to store them in so I have started putting my most used (and most pretty) brushes in this glass. The only problem with this is that they can get a little dusty. I actually think I may swop the brushes with eyeliners or another enclosed product that wouldn’t matter if it were dusty. The pictured copper tweezers were in a recent Look Fantastic Beauty Box and I love them as much for their capability of shaping my brows as their beauty.

Copper Make Up Dreams | Megan Taylor

Heated Eyelash Curlers
Copper Eyelash Curlers

EYE LASH CURLERS

I am loving both of these eyelash curlers at the moment but am in a quandary over which works better. I have quite long lashes but they are naturally straight so I always use eyelash curlers. I think both have benefits but the standard metal squeasy type probably give me the best curling effect.

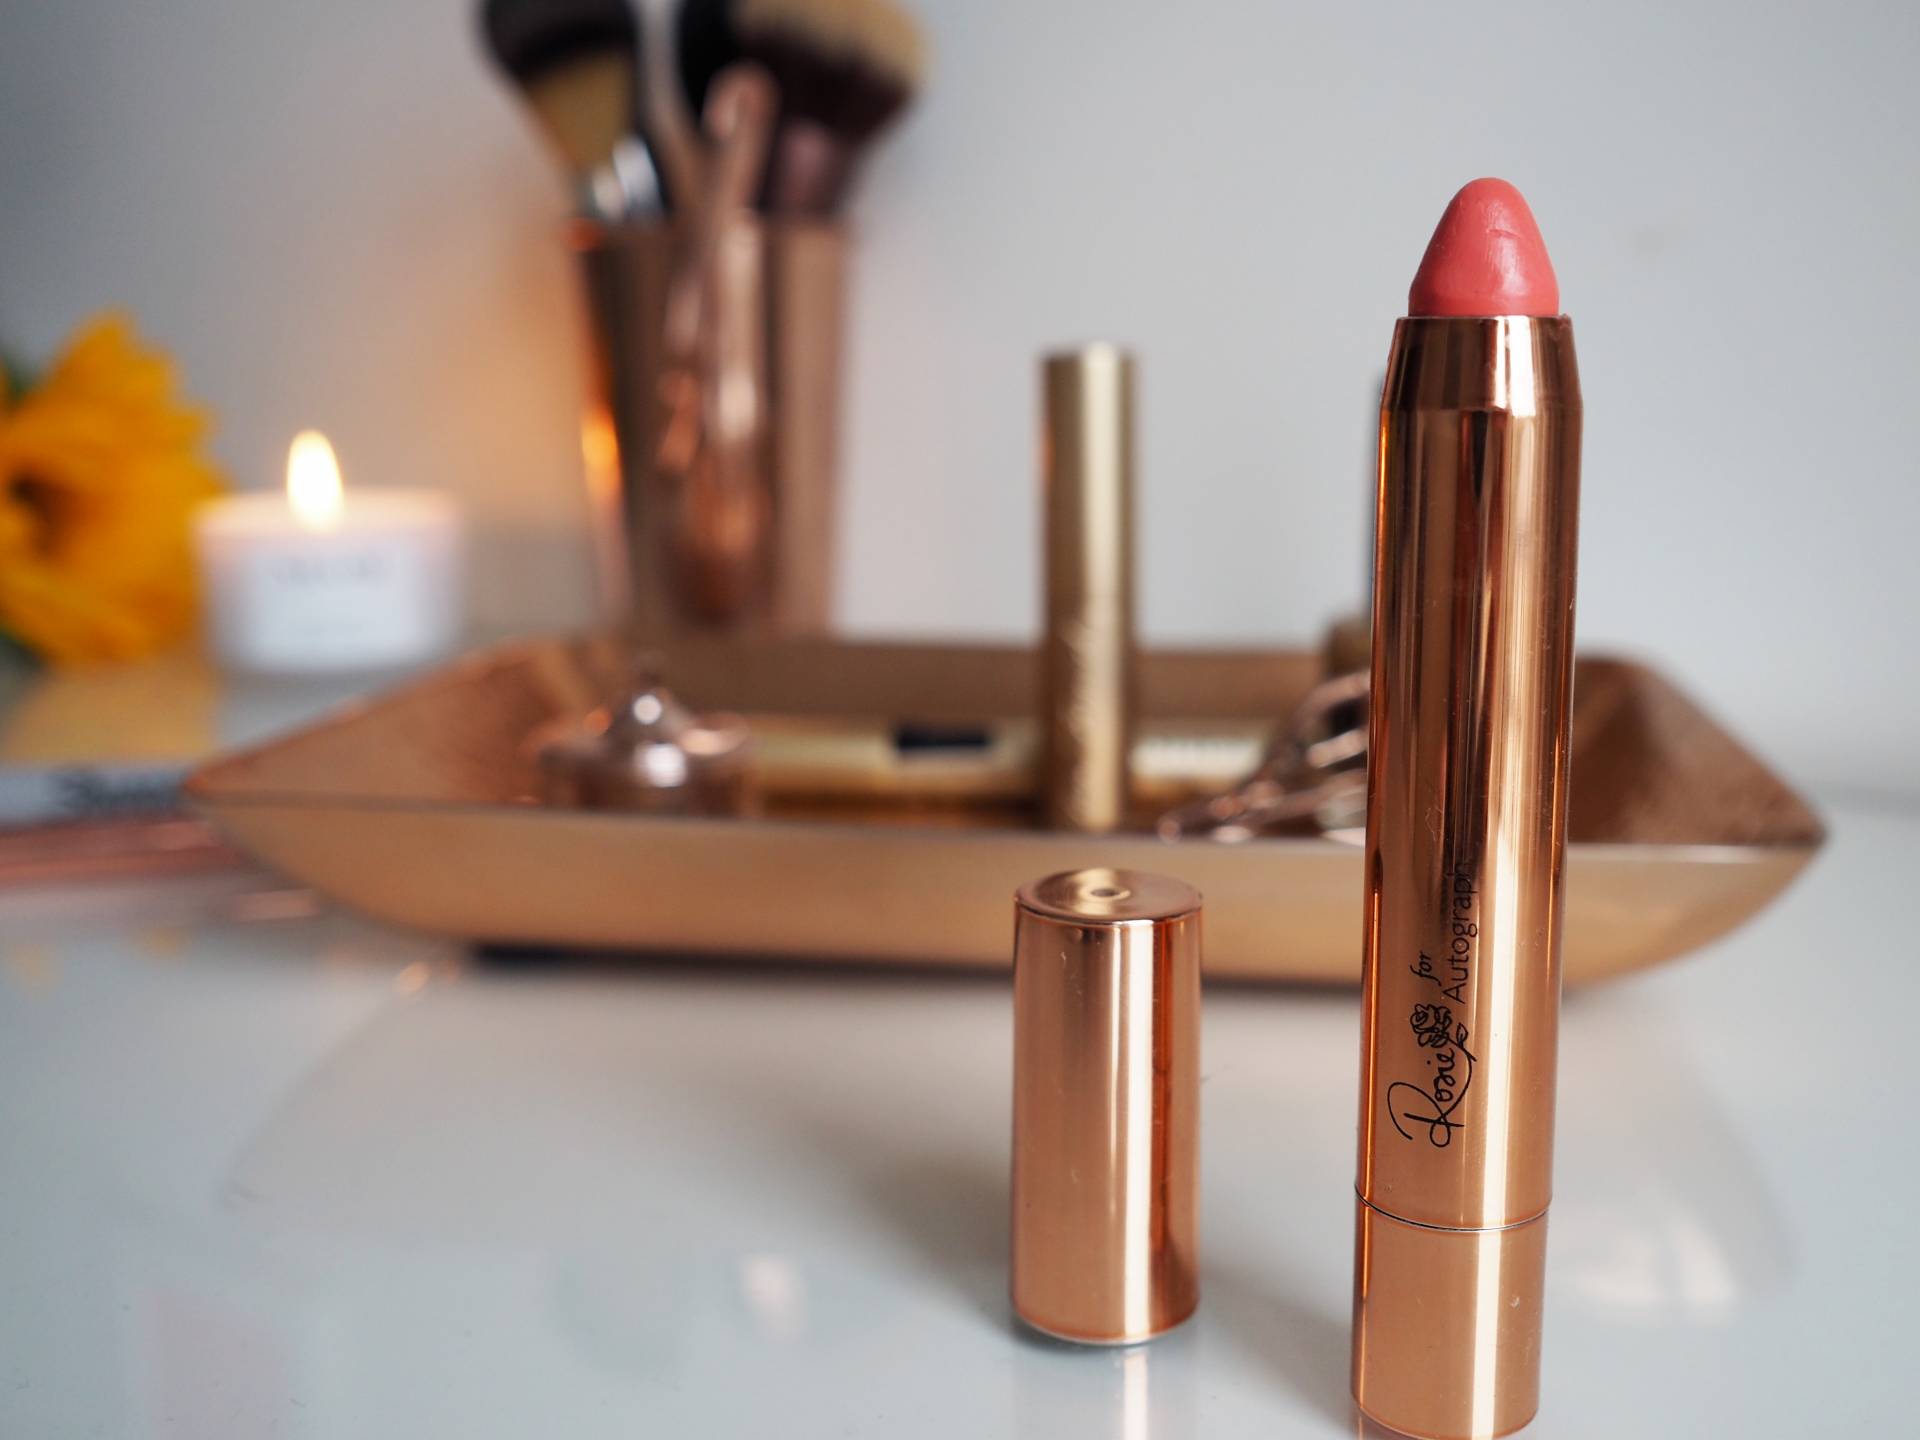
Rosie For Autograph Lip Gloss (My Best Girl Friend)
Too Faced Lipstick (Jelly Bean)

COPPER GLOSSING

Two very different lip effects with these two lipsticks but both packaged beautifully. Again, as I have already said, I am a sucker for anything rose gold or copper and these lipsticks tick the boxes. The Rosie for Autograph lipstick has a glossy effect and is very slightly tinted, the stick is not a true representation of the colour. It is a lot paler than the stick which makes it very easily wearable and is one of those tinted lipsticks that you can apply without a mirror. The Too Faced lipstick is a gorgeous red toned pink lipstick and is probably my favourite lipstick of the moment. The only problem I have with this lipstick is that the twisting opening has stopped working even though there is a lot of lipstick inside it. I have resorted to sticking my little finger in there and dabbing the colour on my lips.

Copper Make Up Dreams | Megan Taylor
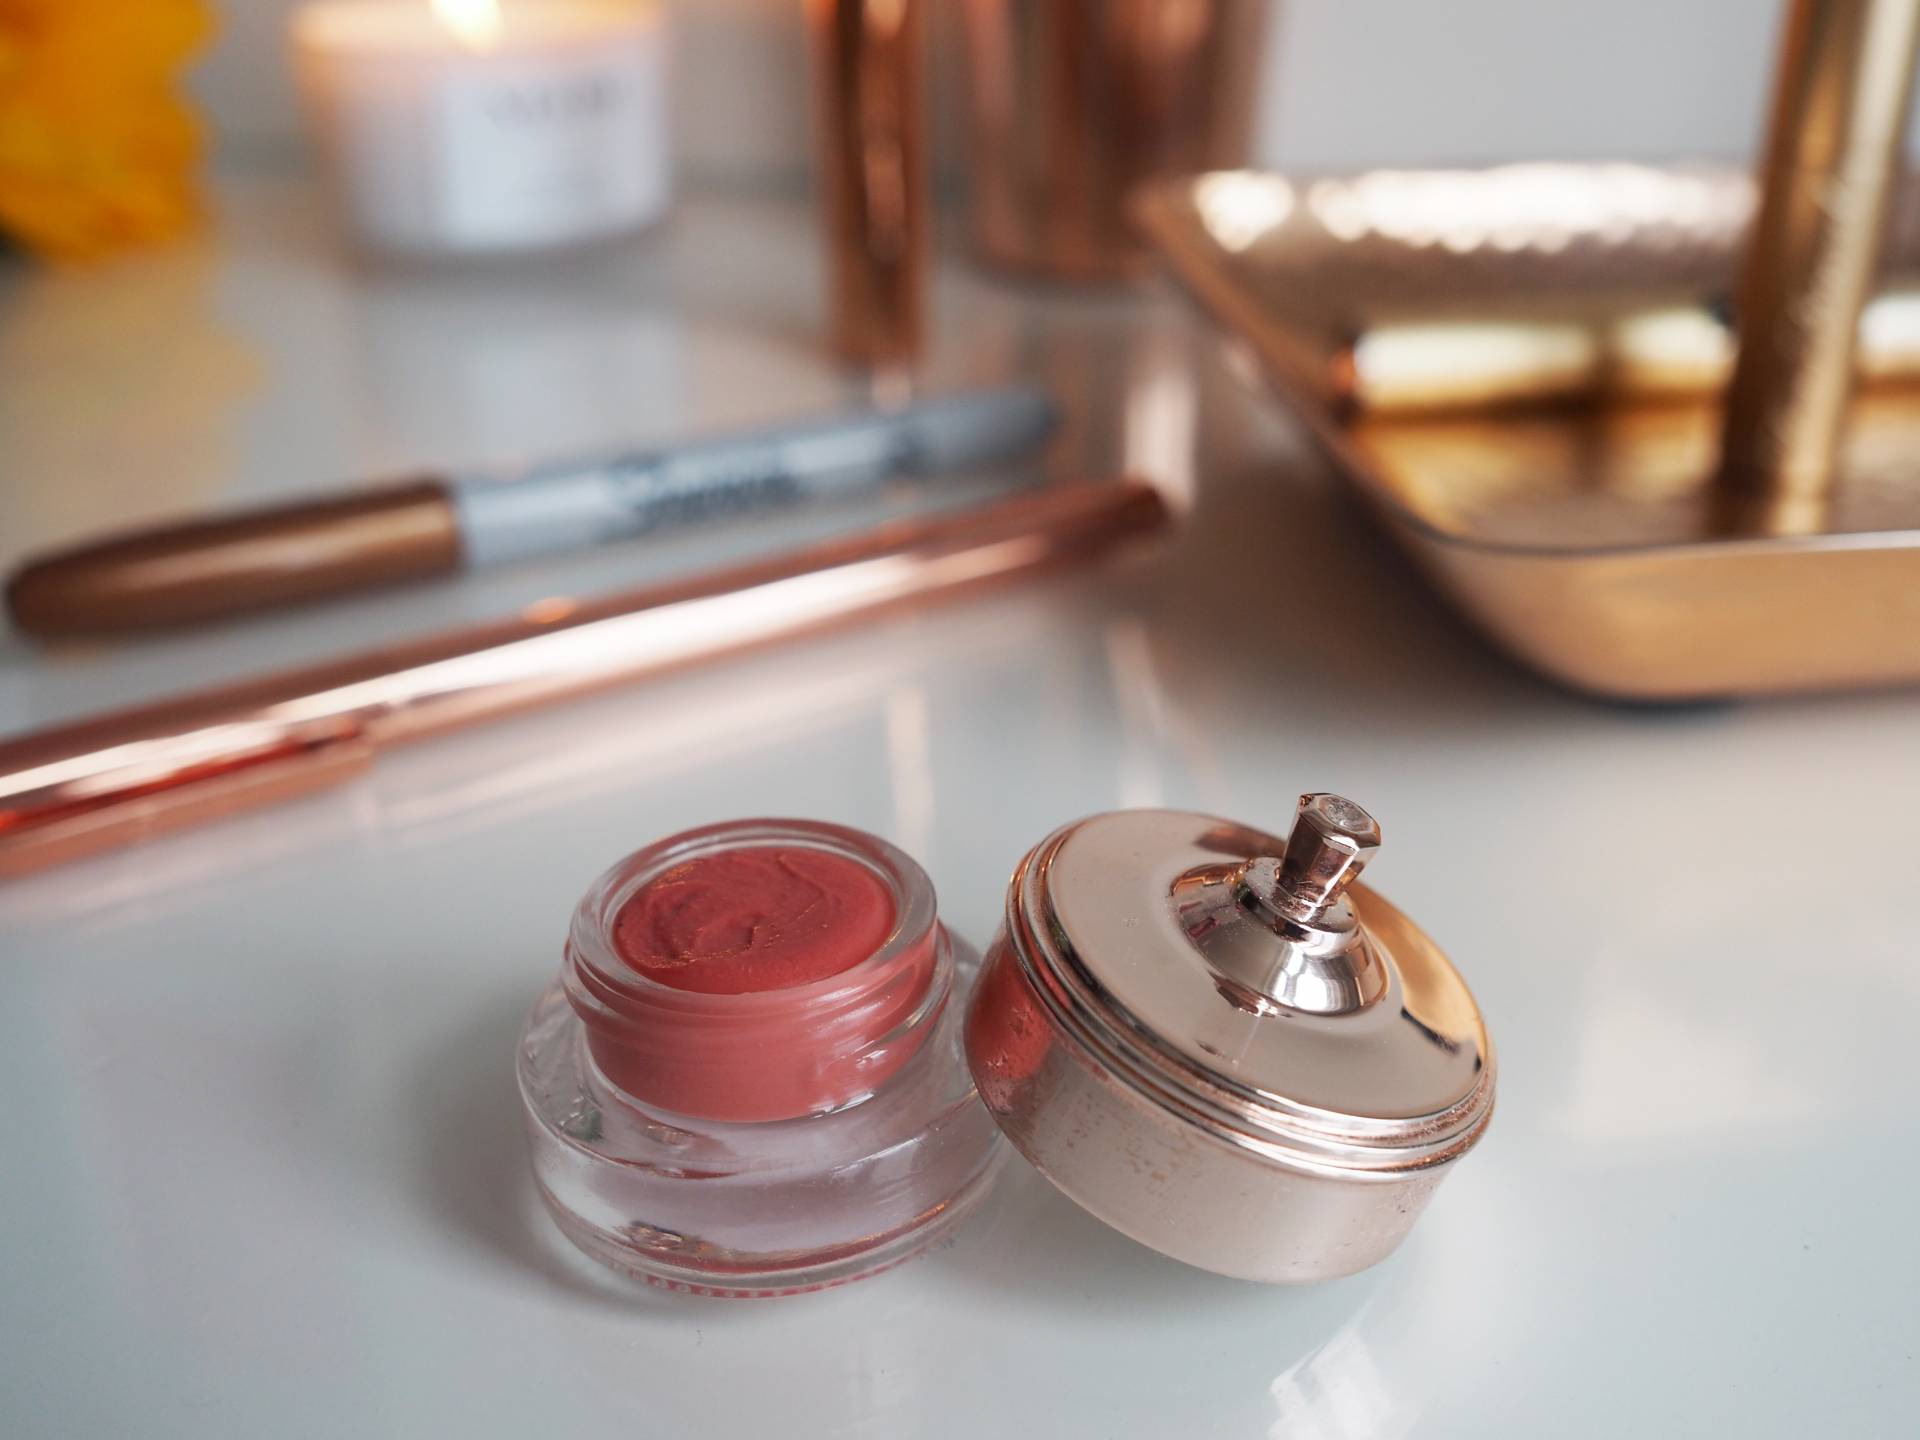
Tinted Lipbalm

ORNAMENTAL BALMS

This tinted lip balm is packages in a beautiful and unusual way. I have never seen a little lip balm pot that looks this way which makes it really precious. I find the lip balm itself a little bit sticky for my liking. If I were single I wouldn’t mind but ever since I met my husband he has shown a dislike for sticky lip products. Until I met Liam I owned more Lancome Juicy Tubes than one person needs. This pot will definitely be staying on display on my dressing table beyond its expiration date.

Copper Make Up Dreams | Megan Taylor
Few…that’s a lot of copper make up products which my dressing tables aesthetics are thankful for. Can you recommend any more beautiful beauty products that I should invest in?

Copper Make Up Dreams | Megan Taylor

SHOP ☆ COPPER MAKE UP

••••••••••••••••••••••••••••••••••••••••••••••••••••••••••••••••••••••••••••••••••••••••••••••••••••••••••••••••••••••

What Models Really Eat During Fashion Week

Along with every fashion week comes a lot of press reports of models being too skinny, today the models for Victoria Beckham, tomorrow the models for another designer. I have been researching what models REALLY eat during Fashion Week and have been quite shocked by the actual truth.

Thanks to my lovely model friends help I created messaging group full of male and female models and asked for their personal stories and experiences of food during fashion week. The press articles of hungry models definitely plays on the mind of many of the models I have spoken to. They feel the press can actually cause the models to worry about not being skinny enough to fit into the designers clothes when in actual fact they already can.

The reports of designers producing clothes that will only fit those that are super skinny isn’t always true. The reality is that at most of the fashion houses the clothes are actually fitted on a standard size 8, like myself, pre fashion week. These garments are then left un-hemmed and fitted on the show girls nearer the date of the show. In reality this means that the show girls just need to be a healthy size 8. It seems height is actually the first priority, unless you’re Kate or Cara.

☆☆☆

The lead up to fashion week
Models tend to be healthier in the lead up to fashion week than during the show season itself. Show season is jam packed. For the top models, they can be travelling from city to city for a good month of constant shows and by the end of it they are left exhausted and spotty from the make up and lack of healthy home cooked food.

There are some models that are naturally gifted with no real need to work out, yet there is also a new wave of models that work out like athletes. With the influence of the Victoria’s Secret motto, “Train Like An Angel”, many models are working out more and more and eating healthier than ever. Models don’t take time off and will wake up at 5:30 to make sure they get in a run.

The biggest factor for every model during fashion week is time. Imagine you have a day full of meetings and didn’t have an intern to run out and get you your lunch. You would have to simply do without food until your meetings have finish. That is the same for models. If there is time, they eat.

☆☆☆

Today I am zipping between two modelling jobs, three castings, one meeting and writing this article. Models get very good at juggling many jobs. If you are not prepared with food in your bag you often have to forfeit food. Whereas on other days you may have no work and sit on the sofa eating a bag of Maltesers and a pizza. Some models that I spoke to said they like their food too much to care about their weight.

I spoke to a PR girl I know who works for a company that organises shows for some very well known fashion houses. She tells me there are rules set by the British Fashion Council that make sure there is always food available for the models. This being said there often isn’t time for the models to eat it if it is actually there so the PR girls end up eating it…its very hard to resist free food. When you are having your make up done and are putting on the clothes you can’t be munching away on food.
–Even though there are these rules, all the models I have spoken to say there is more often than not no food at all just bottles of water. Maybe these rules should be better regulated?

I spoke to a very honest male model who has been doing shows for ten years. He notes that there is sometimes some food available but to be honest he wouldn’t want to eat it before a show anyway. He spoke about wanting to feel your best when walking down the catwalk in front of hundreds of people. Maybe the best option would be for the BFC to have an hours break for lunch allowing everyone in the industry to have a break. Yet, we all know this isn’t going to happen as fashion never takes a break.

One organised models food diary for a typical day of fashion week

The night before fashion week starts I bulk cook loads of sweet potato, quinoa and kale and then store them in Tupperware pots to take with me each day. I tend to wake up very early for the first show to get to my hair and make up call. I tend to pick up a smoothie from Pret or M&S on my way to work. At lunch, or any time that I actually have free I will pick at my lunch that I brought with me. In-between shows I will graze on nuts and seeds. By the time I have finished for the day I am exhausted and hungry so I skip the late night parties and pick at whatever food is closest to me on my journey home. I tend to eat quite bad food after a long day because I am often in a foreign city so just have to pick up something from a shop or get a take away. It’s not healthy but it will fill me up until the next day.

A TYPICAL DAY AT FASHION WEEK
Breakfast:
 Green smoothie
Lunch: Homemade sweet potato and greens and tuna
Snacks: Continuous grazing on nuts
Dinner: Trashy food. We are hungry from a tiresome day

3 Minute Manicure

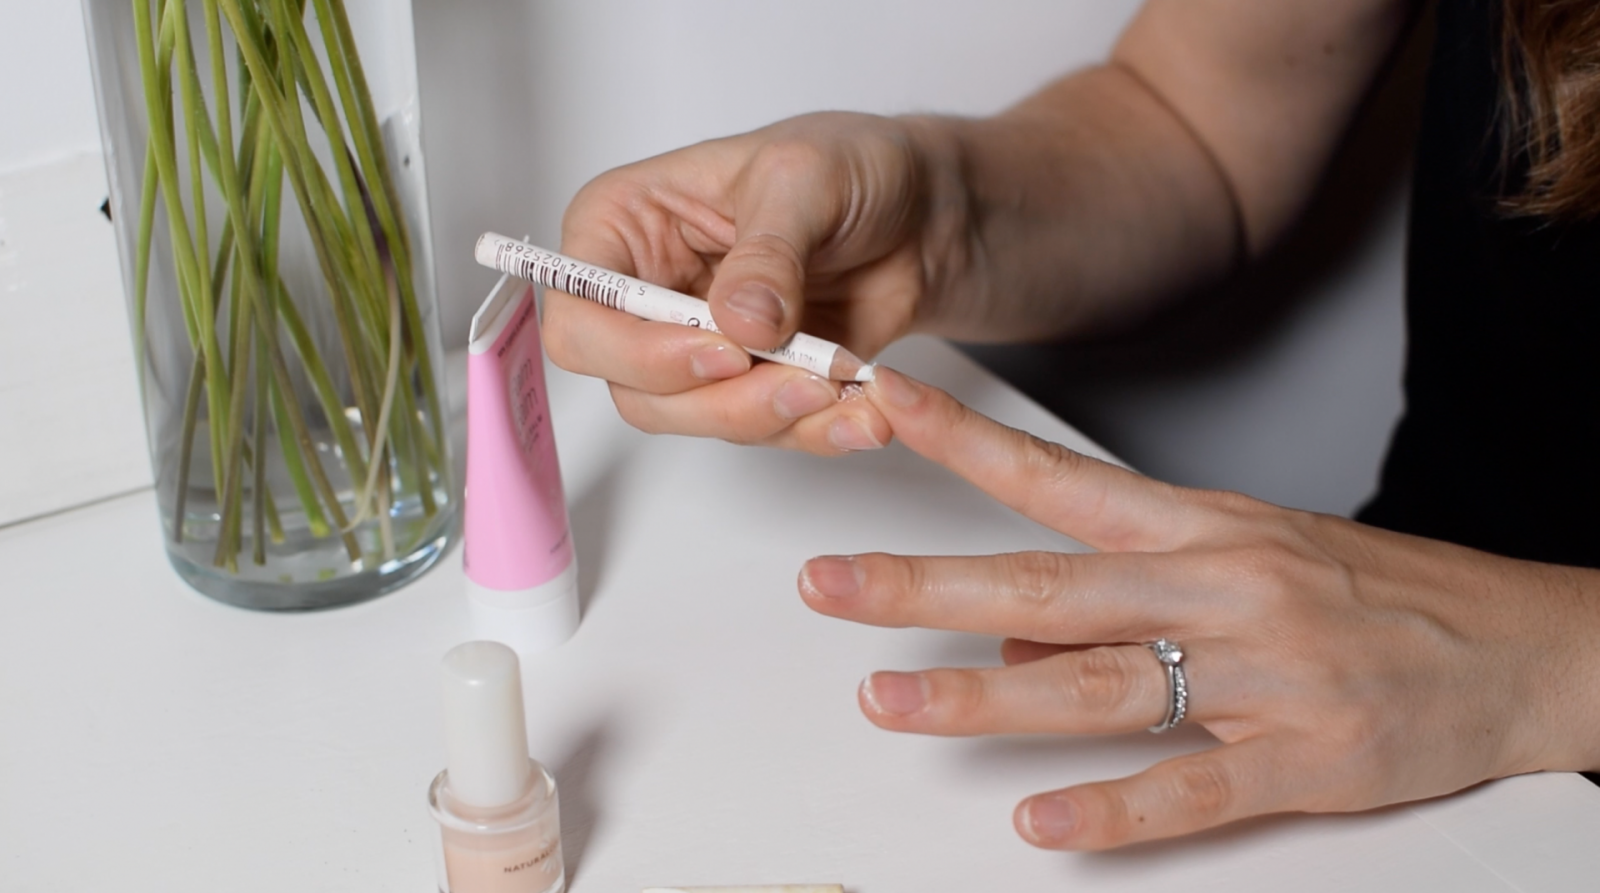
Back when I had a short bout of acne my modelling agent started getting me bookings as a hand model…considering acne didn’t spread to my hands (side note: how come acne doesn’t seem to effect anyone below their chest/back??). Anyway…hand modelling became my saviour as it allowed me to keep earning money and not worry about my angry acne ridden face. With many last minute hand modelling jobs I quickly learnt how to spruce up my hands within a few minutes. Below I have listed the very few products you will need to go from gardening hands to hand model hands. I also filmed a video ‘3 Minute Manicure’.

☆☆☆

Hand Balm
I use Balm Balm Rose Geranium balm to help rejuvenate my hands. I find that this soaks perfectly into any dry sky around my cuticles and nail bed.

Nail Varnish

I use this Natural Collection nail varnish which is the perfect amount of pinkness that blends into my natural nail colour yet doesn’t look like you have a colour on your nails. To top off its wonderfulness, it is incredibly cheap. I have a few bottles of this on the go at all times, one in my work bag, one in my nail kit and one in the living room.

Nail File
I like to use these very thin nail files because they allow you to get closely into the sides of the nails and file away any excess nail filings that occur under your nails and filing.

Orange Stick
Orange sticks are wonderful when they are double ended like these ones. I use the flat end to push back my cuticles and the skinny pokey end to scrape away any dirt from under the nails.

Nail Pencil
My mum introduced me to nail pencils when I was younger and now I wouldn’t be without one. These Rimmel ones also come with a lid that doubles as an orange stick…a multi functioning product in one. Before moisturising your hands use this white pencil to draw under each nail giving you the illusion of a French manicure. A little gross but wonderful tip is to lick the pencil to make it paint your under-nails whiter.

☆☆☆

Top 10 tips to make your teeth bright

I may may not be a professional dental practitioner but I am a model and actress which means my teeth are very important for my job. In this industry I am often in front of the camera and the close ups on my teeth are intense, meaning my teeth are always on my mind and I am very aware that I need to look after them. Over the years I have learnt and discovered many top tips to keep your teeth in tip top condition. Below I have listed my top 10 tips to make your teeth bright. I go into a little more detail on my YouTube channel. Check out my latest video with the link at the bottom of this page.

☆☆☆

1. Do not drink red wine or coffee

2. Do not smoke

3. Do not brush your teeth after eating fruit

4. When you consume acidic food and drinks, finish up with a glass of water

5. Floss

6. Use a straw

7. Brush your teeth twice a day

8. Drink water

9. Mouth wash and/or coconut pulling

10. If all else fails…have your teeth whitened professionally

☆☆☆

Products that I use

Sterline Electric Toothbrush
I am loving this toothbrush by Sterline. The power is super strong and there is a choice of three toothbrush heads. My favourite is the interdental head which is great for cleaning my fixed brace and getting in my gums. Also it is super cheap for an electric toothbrush!

CB12 Mouthwash
I am particularly loving this mouth wash at the moment because as a fresh breath addict I love the fact this is so strongly scented yet doesn’t burn your mouth!

☆☆☆

I hope you have enjoyed my video and top 10 tips to make your teeth bright and white. If you have any questions or some extra tips to add feel free to comment down below x

How to update your furniture – the quick and easy way

I am loving the white Scandinavian and French interior look that has been popularised by Pinterest in the last 10 years. Adding one piece of white furniture to your home can immediately make your room look bigger. I have found that buying white furniture can be both expensive and limited in terms of space capacity. It seems that most white furniture is either cheap plastic or gorgeous shabby chic French wood that can barely store a single sock within it. With this in mind I have been loving transforming old furniture that was dark wood and falling apart. I have even been known to find old mirrors in skips and rejuvenate them. I have documented my latest project which was my Italian grandmas old cabinet which my husband and I now store all our cocktail booze in. It is beautiful as it is but doesn’t fit with the rest of our interiors as it is so dark. Below I have shown you how I, as a complete “furniture rejuvenating amateur”, has updated this piece of furniture in two days – the quick and easy way with very little or no money. I actually didn’t spend a penny as I found everything I needed in either mine or my parents garage.

You Will Need
Light sand paper
White paint
Brasso
Wax
Cloth
Masking tape
An old candle
Screwdriver
Chop stick
Tomato ketchup

I painted on a very sunny day which allowed me to paint many layers in one day.


Method
1.
Start by taking the doors off…this took me a while figure this out.
2.
Start by sanding down all of the areas which you are going to paint. You don’t have to take off all of the old varnish or paint. You just need to provide a little bit of grip for your new paint.
3.
Use masking tape to cover and areas you don’t want to get paint on.
4.
Start painting. Do not use lashing of paint. Slowly build up your layers. I painted about 5 layers. After layer 3 I lightly sanded down any corners that had too much build up of paint. I also kept a chop stick nearby to scrape away any globby bits of paint that build up in the more intricate corners.
5.
Once you are happy with your painting and the surfaces are completely dry you can wax all the surfaces with a buffing cloth. This will allow you to lay mugs, glasses, candles, picture frames etc on the furniture without worrying.
6.
I used Brasso to do some extra buffing and shining to the trims. I actually soaked the hinges and handle in some ketchup for a while which worked wonders…this almost put me off having ketchup with chips, think of our teeth eeek.
7. Once you have screwed the the doors and handles back on, rub an old candle all over the lengths of the doors to allow them to shut with ease.
8. Et Voila☆


How To Curl Your Hair With GHD’s

I have naturally curly hair. After years of heat abuse on my hair I am left with unruly curls that are a bit of a mess. This has meant that I have had to learn how to curl and straighten my hair quickly. My hair is also very thick so I have to blow dry it, otherways my hair will still be wet 24 hours later. I use my pink breast cancer awareness GHD’s that I bought about 9 years ago and touch wood they are still going strong with no signs of braking down. I filmed a video of how I curl my hair with GHD’s for my YouTube channel which you can watch ‘How To Curl Your Hair With GHD’s’ at the bottom of the page. If you have low wi-fi you can continue reading to learn how.
For where to buy all the products mentioned click on the product images below.

HOW TO
1. Roughly blow dry your hair, using a hair brush to tame the hair.
2. Part your hair down the centre into two sections.
3. Point the GHD’s downwards and in a spiral/coiled motion twist the hair.
4. With each section of hair, take about 2cm thick of hair in diameter.
4. When spiraling the hair hold the straighteners loosely closed so that you can smoothly drag the GHD’s through the hair.
5. Your hair will be in very tight glamorous curls at the end. While your hair is still warm run your fingers through your hair to loosen up the curls.
6. Cover the hair in hairspray to set your curls.

{Featured Image From A Shoot I Did For Headmasters, 2012}

1920s Gatsby Inspired Nails

I went to a 1920s Great Gatsby themed New Years Eve party.
I wanted to make my nails look themed but not tacky.
Here is a very simple and wearable 1920s Great Gatsby Inspired Nail Art.
Click on the video at the bottom of the page for a quick and easy tutorial.

WHAT I USED
Base Coat (126)
Gold Stripe
Top Coat (Crystal Clear)


www.megantaylor.london
Instagram: @itsmegantaylor
Twitter: @itsmegantaylor

5 Ways To Better Skin {Face Diet}

Whilst everyone is busy chattering away about their New Year New Me diets, I haven’t noticed anyone mentioning their skin? Here I am going to discuss 5 Ways To Better Skin.

A few year ago I suffered with adult acne and my New Years resolution after a year of struggling was to have skin I was happy with.
After lots of research and testing out different diets, remedies, skincare etc I eventually cleared my skin and finally became happy to tie my hair up and show off my face.

This blog post is not going to go into in-depth solutions I came up with of how to clear my acne, yet some simple tips to help.
You probably know all these tips but we all need to be reminded from time to time and there is no better time than January, when we are all feeling eager to renew our lifestyles.

{If you are suffering from acne and need more advice I would be happy to write a more detailed blog post in the future.}

1.Drink more water
I know I know I know every magazine and celebrity has been saying this for years.
It can be a bit of a boring tip because you can’t really see that there is any difference from drinking more water.
Some of the main reasons are that it can flush out your system and also make you feel full up quicker.
Do you know that sometimes when we are hungry we actually just dehydrated?
Water should stop us from binge eating and drinking, in turn preventing us from downing a fizzy drink which can be very bad for our skin.

2.Stop drinking alcohol
What better time than “Dry January” to give up alcohol.
Lots of people are going alcohol free this month so support should be higher than ever and hopefully less opportunities to give in to social temptation.
I gave up drinking wine about six years ago and haven’t had more than a couple of sips to taste it ever since.
One day I realised that every morning that I woke up after even a couple of glasses of wine I would have very dark circles under my eyes.
For some reason I don’t get this with any other alcohol?
My Italian blood does seem to mean that I have naturally dark eyes but the wine definitely made it worse so I immediately stopped and haven’t looked back.
I do however still drink alcohol such as cocktails and I do tend to wake up with a teensy zit the day after a night out, this only happens when I have been drinking so Dry January is definitely going to help me and hopefully help you.

3.Get more sleep
More Sleep = Fresher Face
It is easier said than done but try to aim for 7-8 hours sleep a night.
Your body is busy repairing and rejuvenating whilst you are sleeping so let it get to work.

4.Quit sugar
This is a really difficult point but probably the most important. In basic terms…
Sugar  = Insulin = Testosterone = Spots
I am not trying to imply that if you eat sugar you 110% will be covered in spots but it will definitely increase the chance.
{I may write a more in depth blog post on how I quit sugar four days a week if it interests you?}

5.Make Up Free
Try and go make up free once a week.
Let your face have a breather from the claggy oily make up we wear every day.

Hope you all have a wonderful 2016 and don’t forget to still have fun in this January
Although I am going to be fairly strict this month I won’t be adhering to these points on my friends and families birthdays for both my own sanity and to not be too socially inept.

Have you got any tips for us that I should have added?

{I am not claiming to be a dermatologist or nutritionist. All opinions are gained through my own testing}

Halloween Hair & Make Up Tutorial

My second dose of Halloween blog-ness in two days…goodness.
This post comes in the form of a You Tube video-well it is Sunday.

Make sure you subscribe to my You Tube channel and let me know what videos you would like to see in the future.

Hope you enjoy my tutorial and let me know if you create this look at home by tagging me on Instagram @itsmegantaylor