Whilst waiting around at an audition I saw a watermelon cake in some magazine. I was quickly ushered into my casting and never had the chance to read more about it but it stuck in my mind. It reminded me a lot of this amazing Christmas ice cream Panettone cake I make each year. Well, I have made something inspired by both and it came out pretty darn good. It’s fun and super quick to make. It would be a great cake/treat to make with kids and even though it is sweet with watermelon, it’s insanely and surprisingly super healthy.
INGREDIENTS
Small watermelon (because they have less black seeds)
Greek yoghurt (or coconut yoghurt if you are vegan)
Mixed nuts
1 square of dark chocolate

METHOD
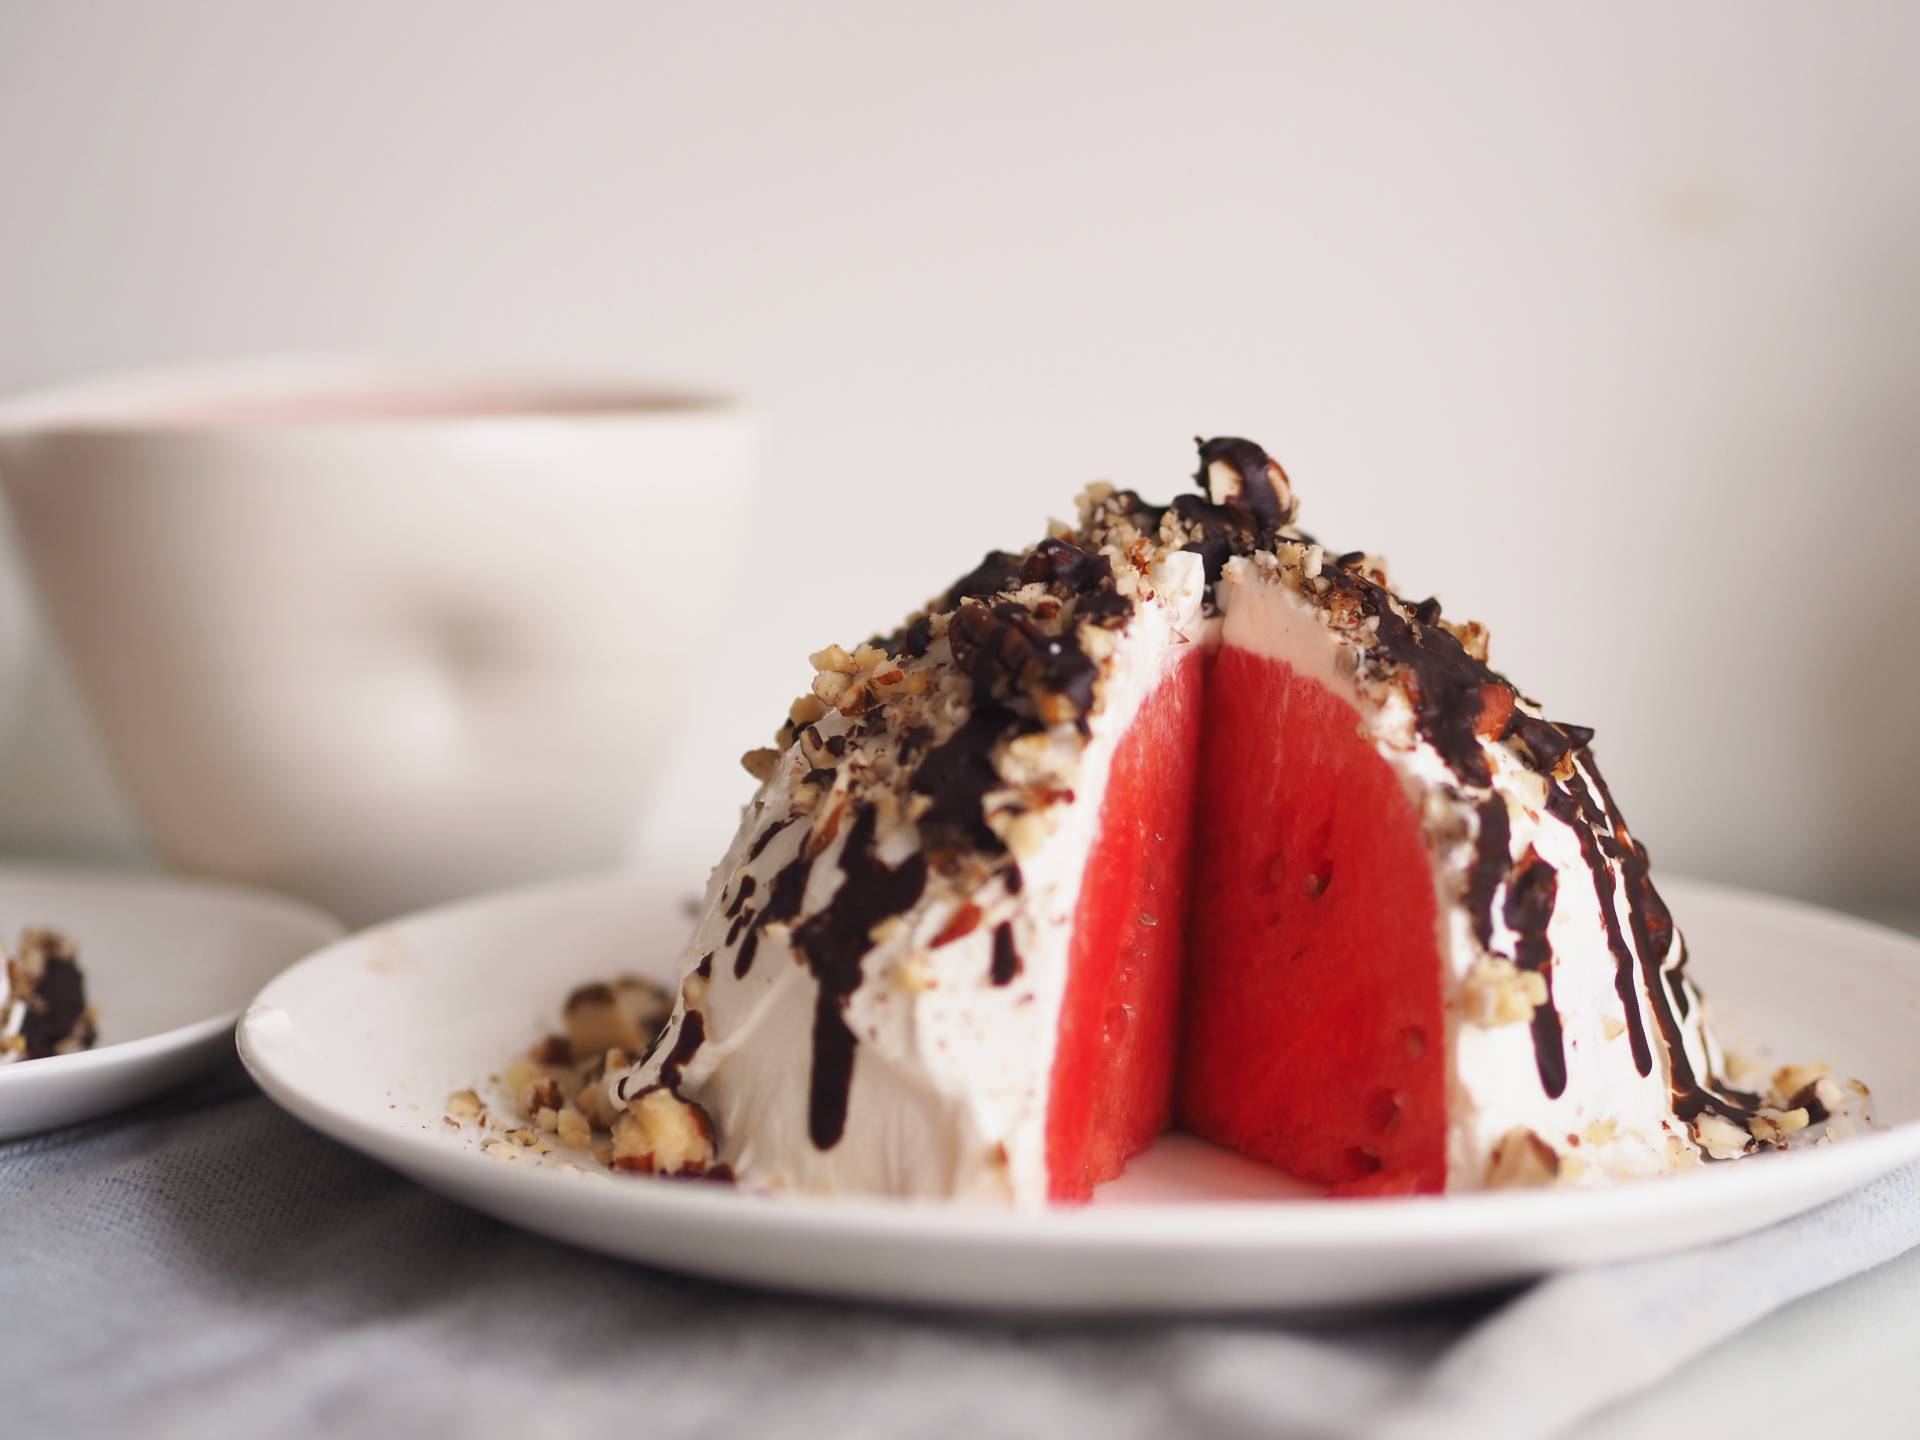
• With a sharp knife, cut your watermelon in half and cut of the skin (do you call this the skin or rind? hmmm).
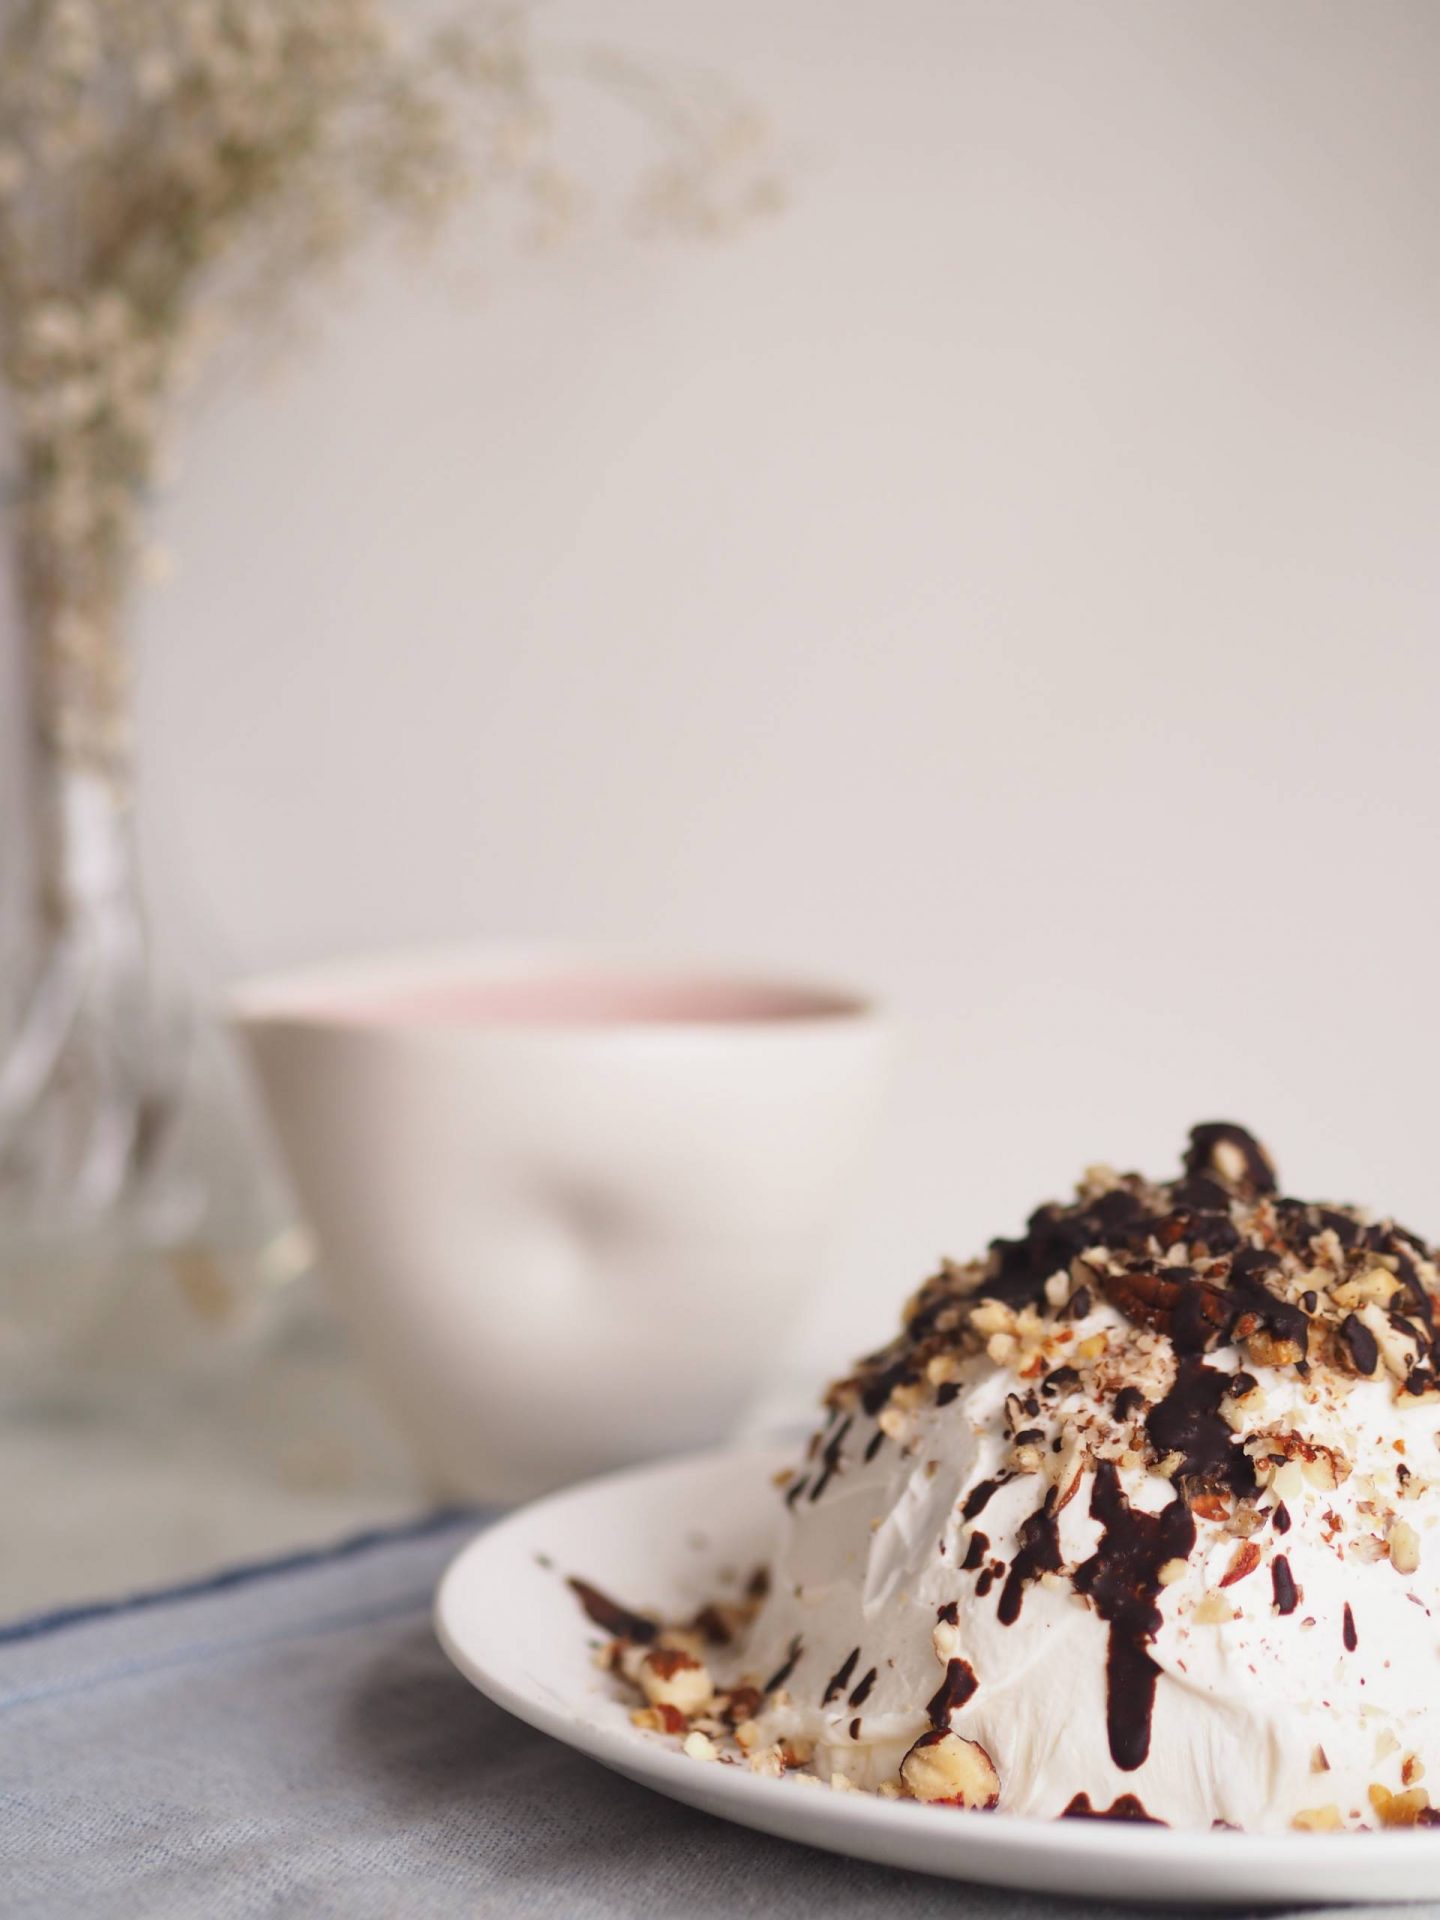
• Now that you have your dome shaped watermelon, place it on a plate you want to serve it on. Not much bigger than your melon and one that you are happy to use a sharp knife on.
• With a cake spatula swipe yoghurt all over the melon, smoothing across it evenly.
• Place a handful of mixed nuts in blender for a couple of seconds to roughly chop them. Then sprinkle them on top.
• I melted one square of Panachocolat Orange & Fig chocolate in a pan on a low heat with a big teaspoon of coconut oil. You could use any chocolate but you need very little. Once melted drip across haphazardly over the “cake/bombe”.
• Leave to set in your freezer. It will be ok to serve after about 45 minutes but longer left the better.
Let me know if you make this, I’d love to know what you think and see pictures x


 {
{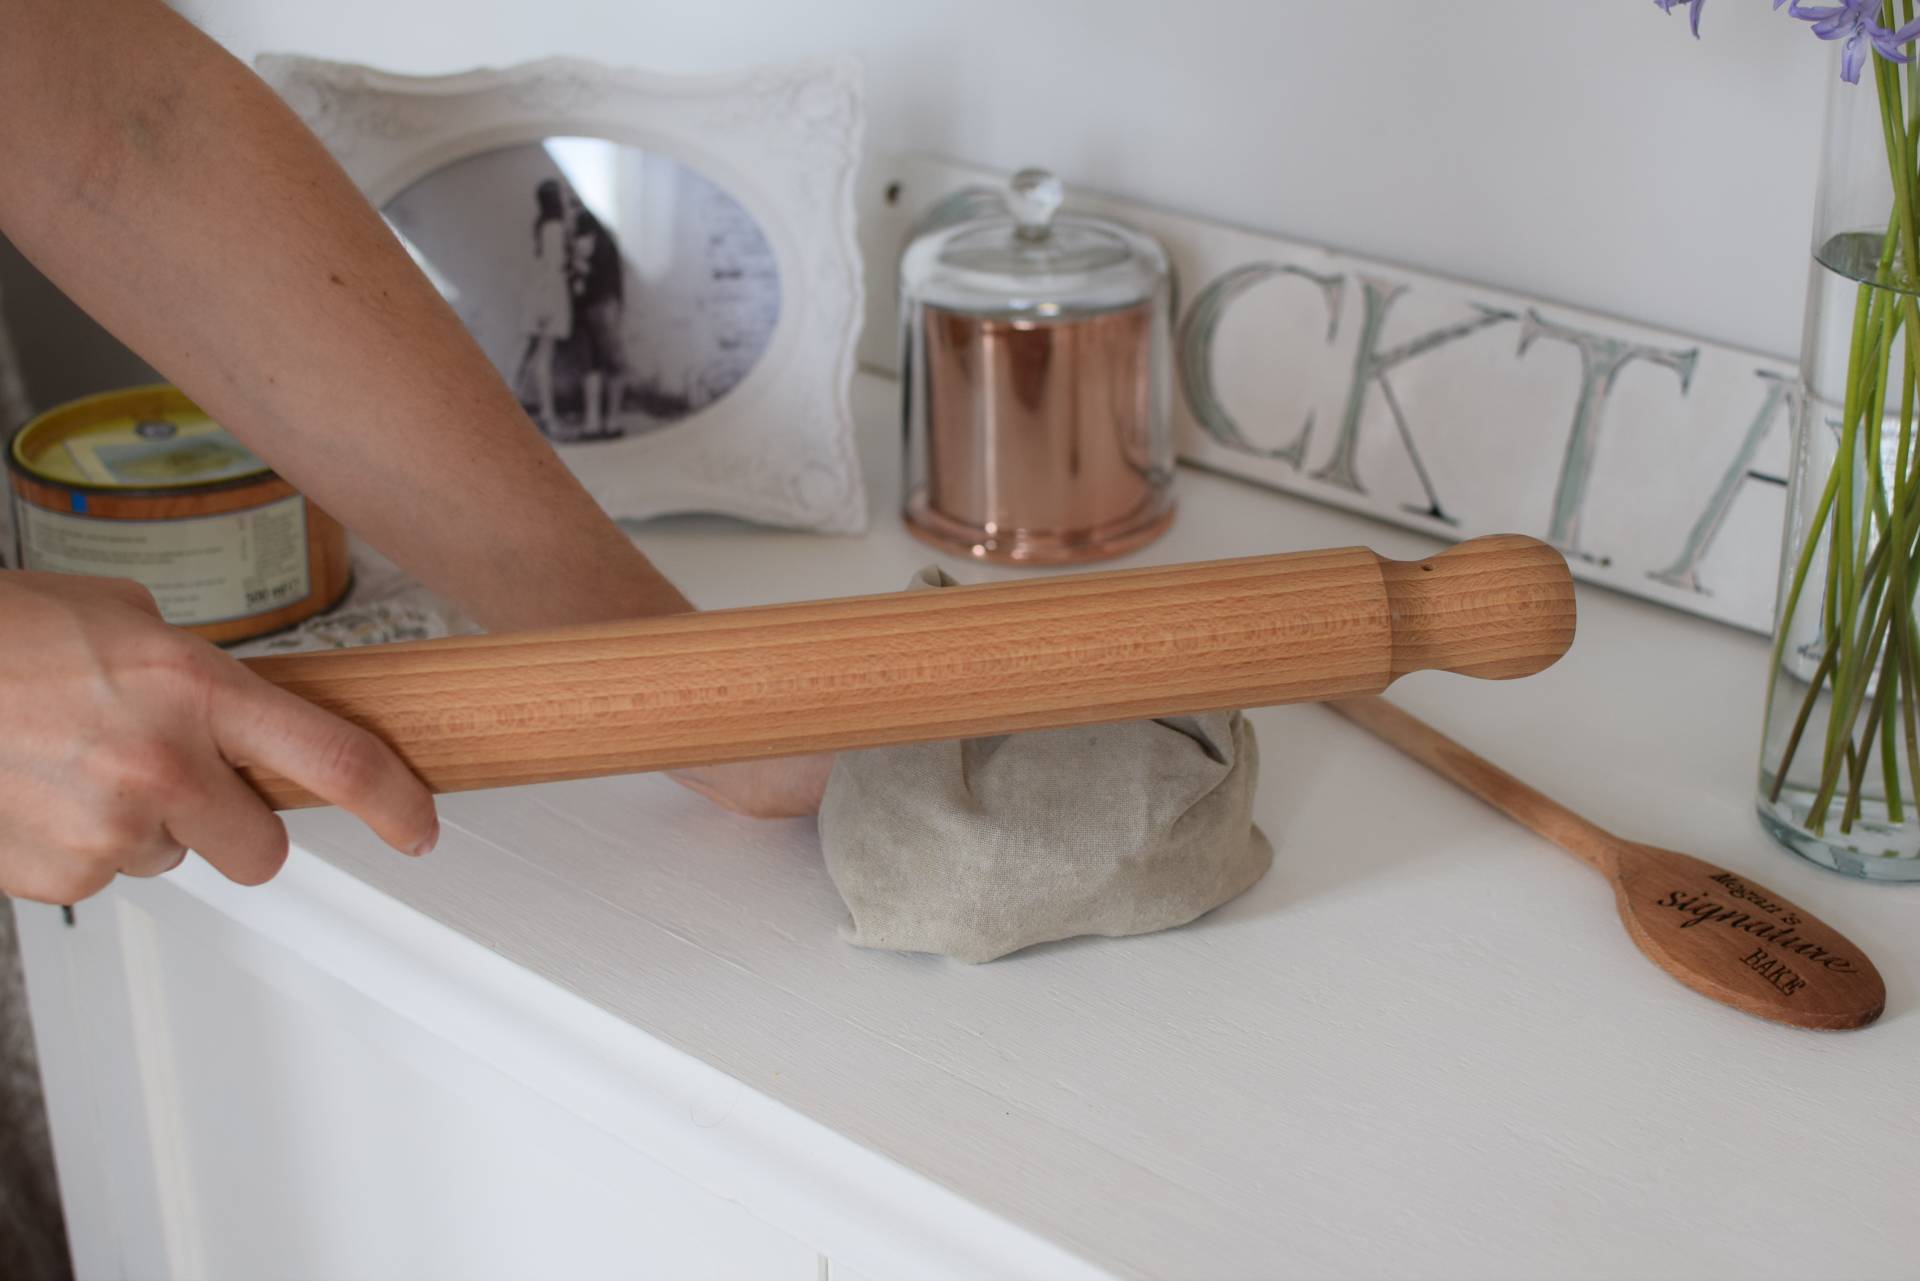 {TOP TIP: Place your amaretti biscuits in a tea towel and have fun bashing them with a rolling pin.}
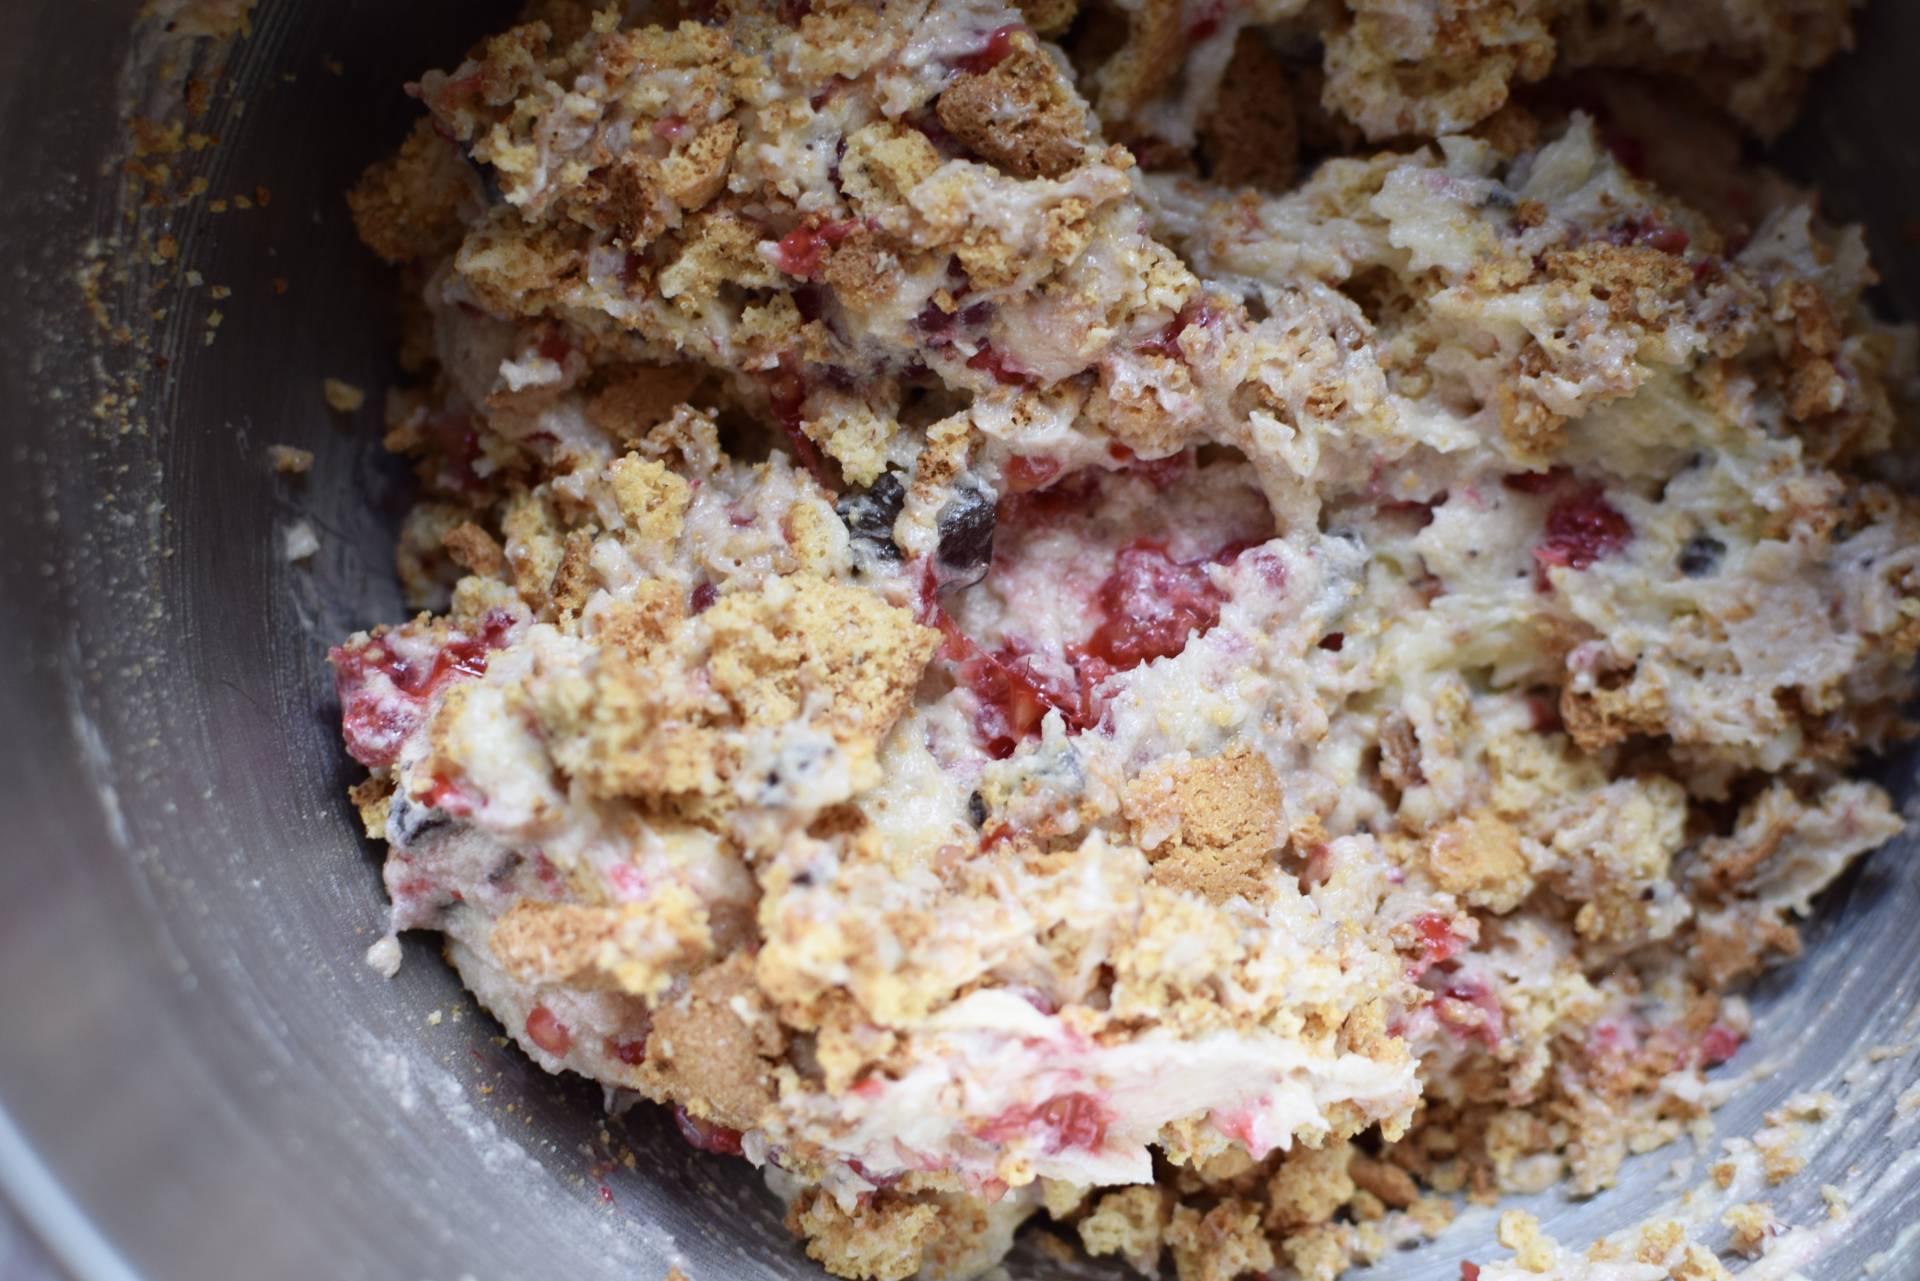 {Not only did the mixture smell divine but looks rather beautiful too}
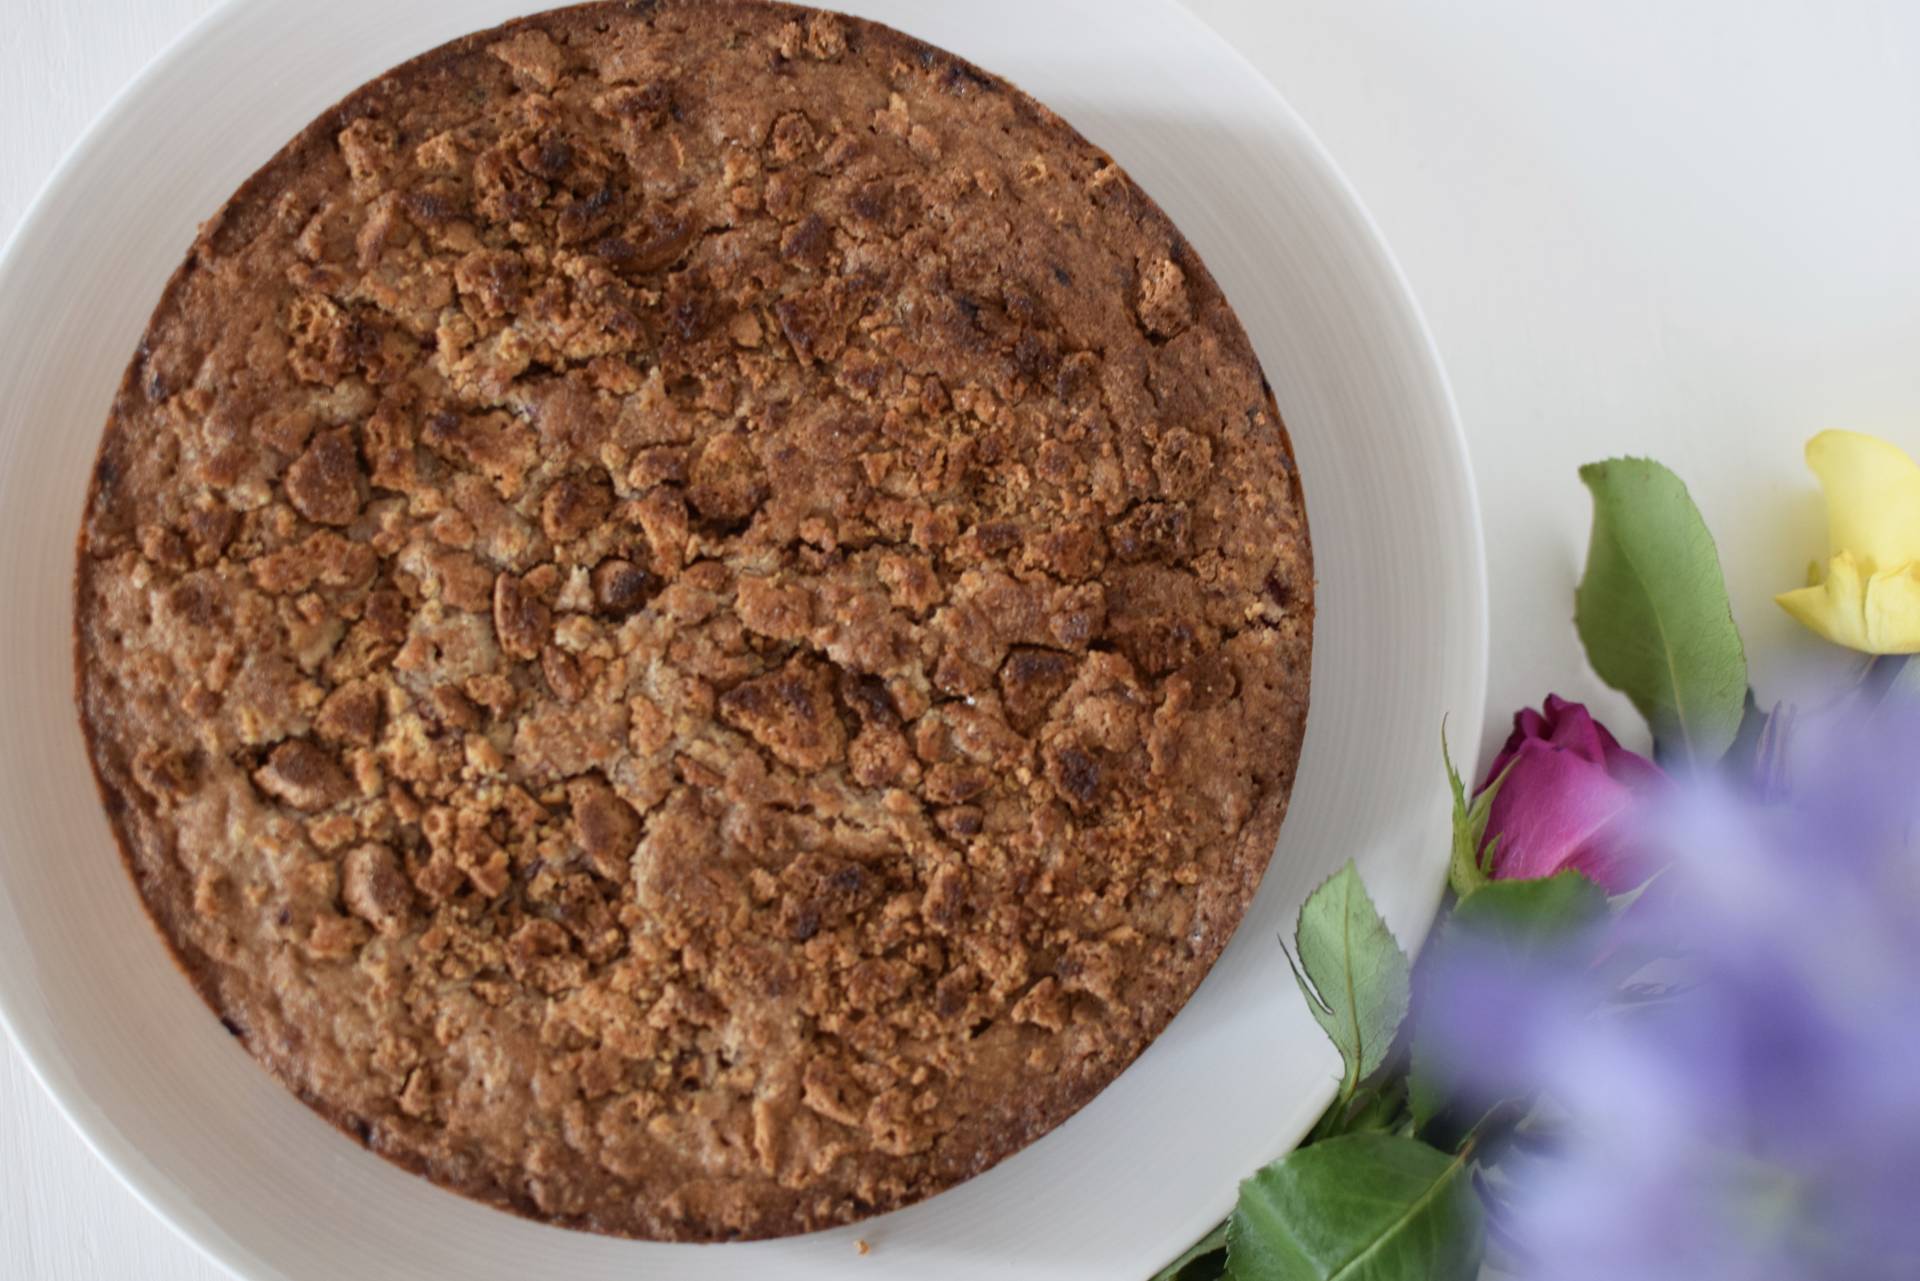 {Here is the finished cake which I snapped before I had sprinkled it with icing sugar…sorry}
 {Plate –

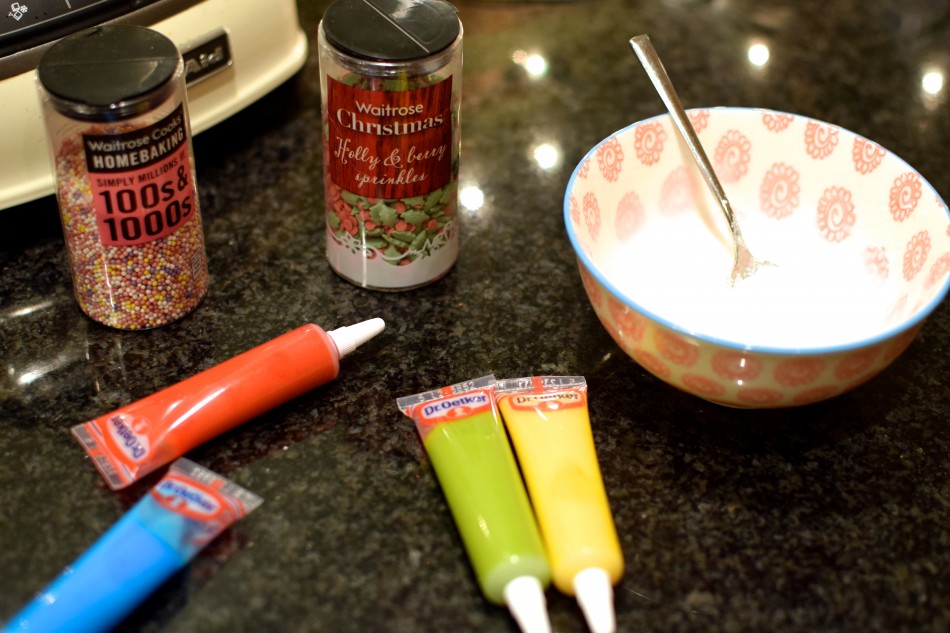
 Ingredients


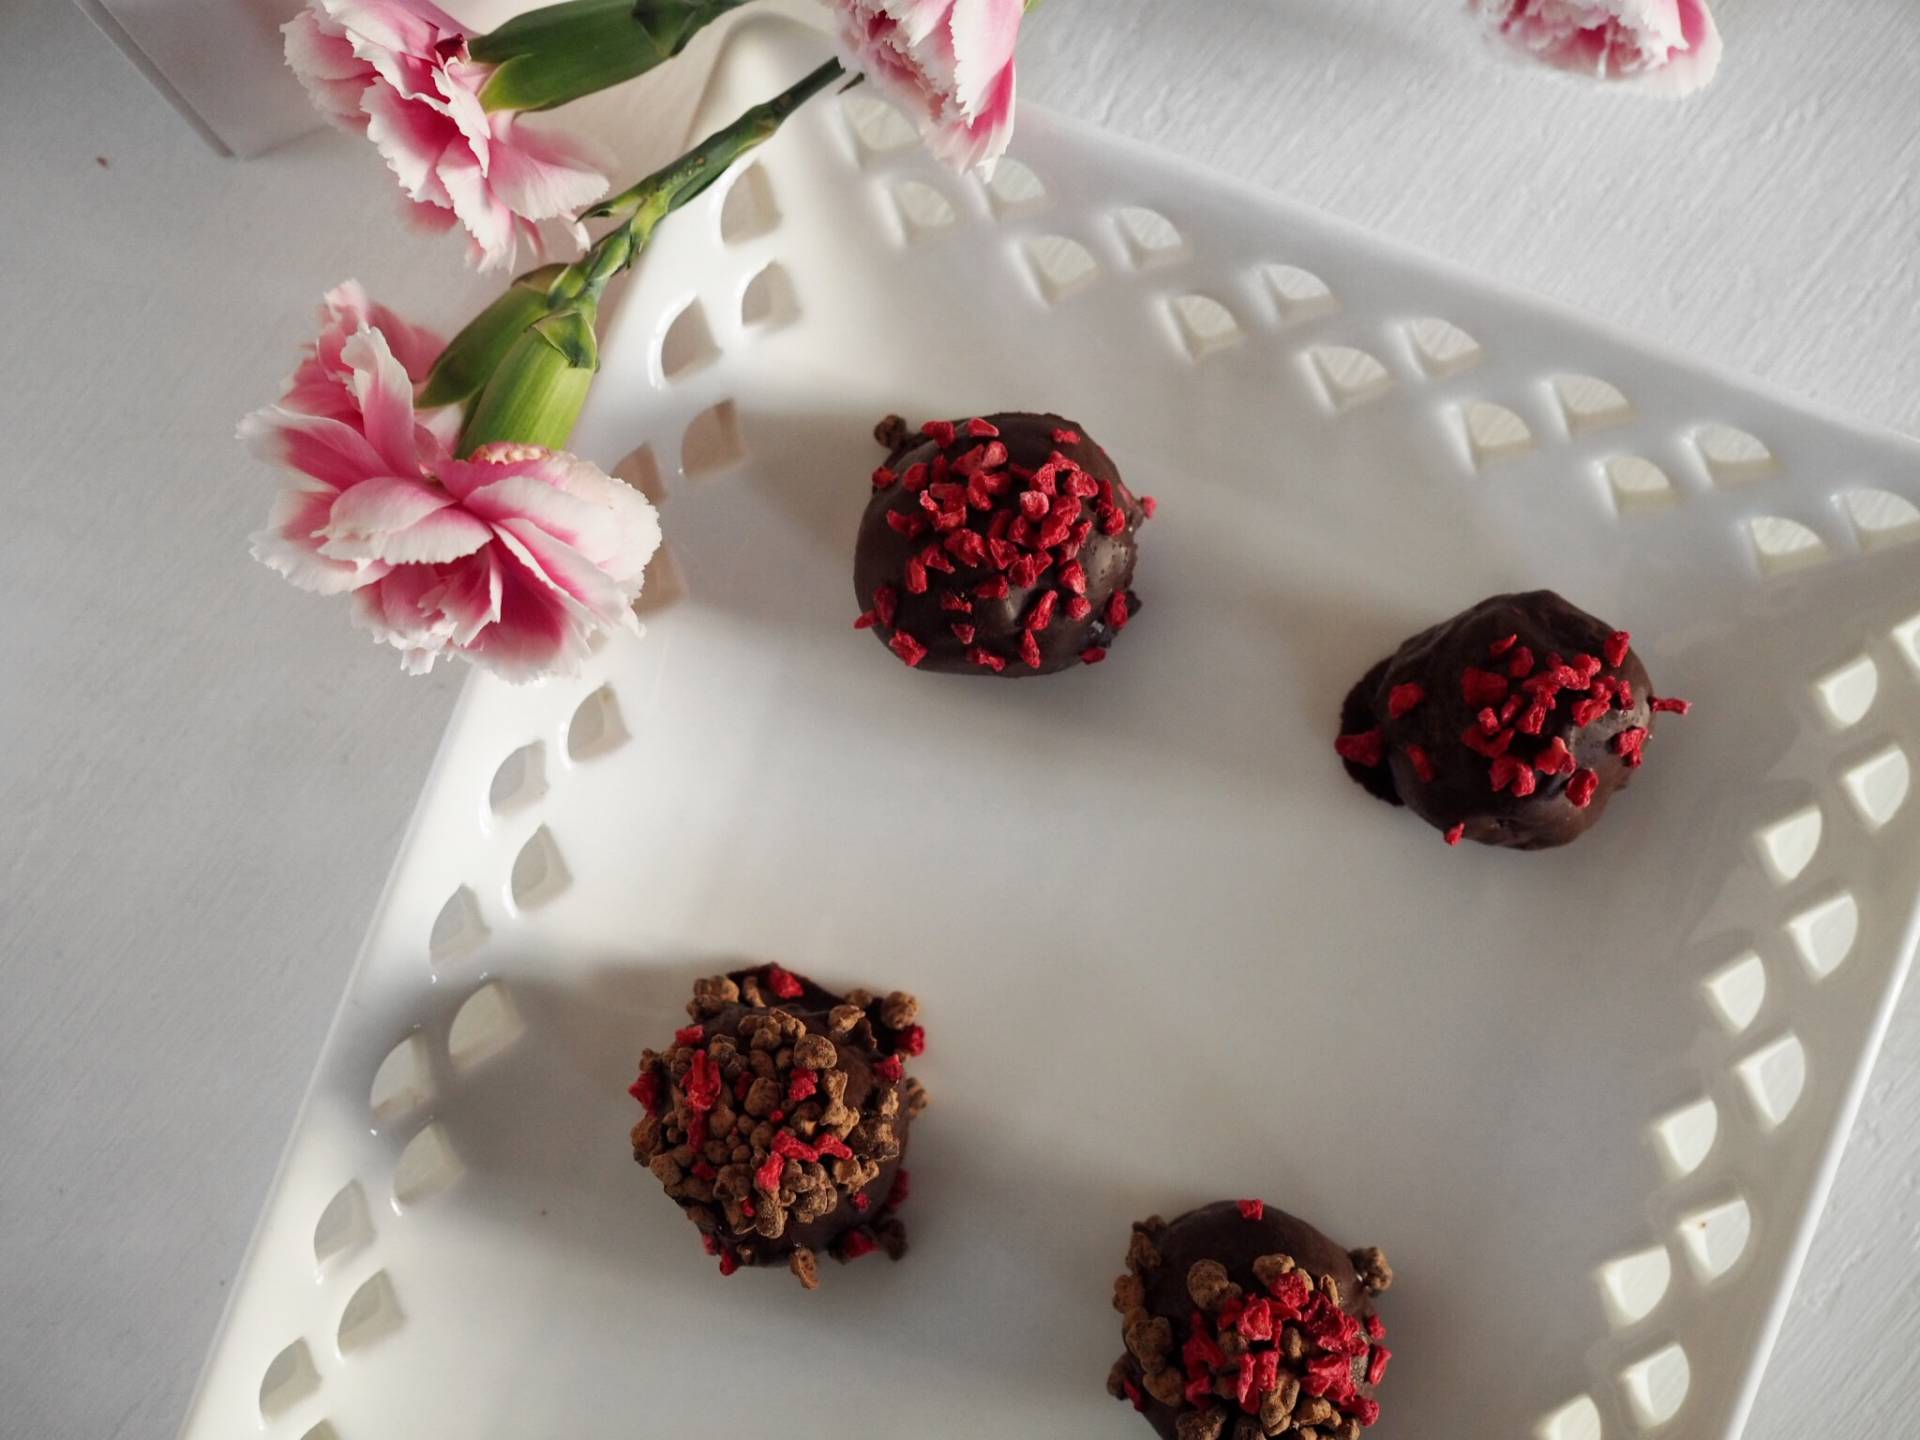
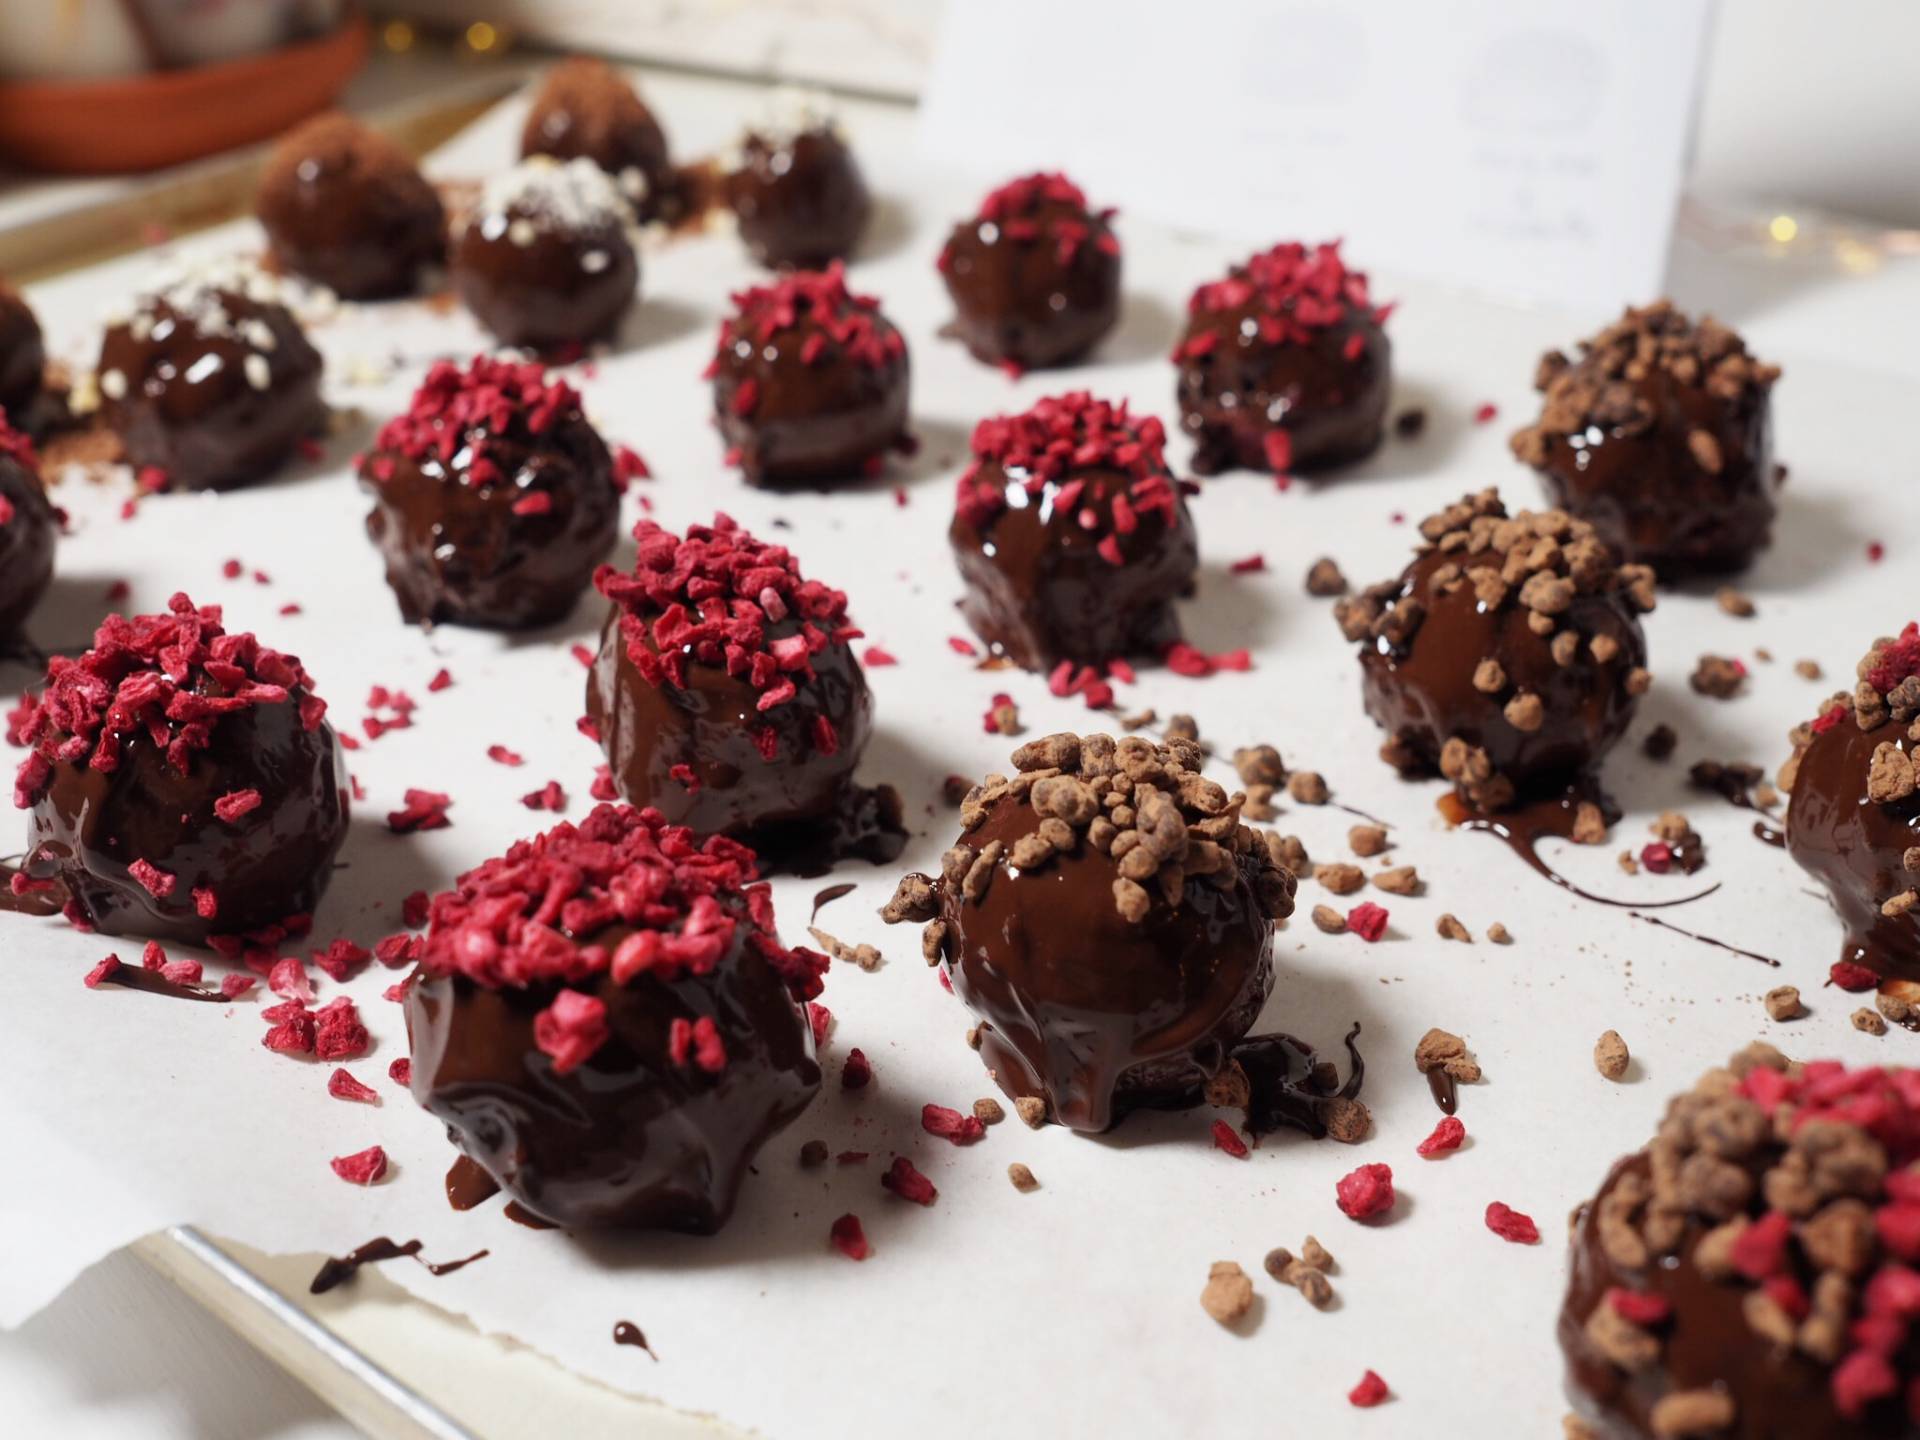
 {Perfect homemade Christmas gift}

 {Ingredients: Frozen berries, Yoghurt, Seeds & Nuts}
 {Frozen Raspberries}
 {yum yum yumminess}


